Chatbot Menu is an always-on user interface that helps people discover and access the core functionality of your chatbot at any point in the conversation.
How to Build a Chatbot Menu?
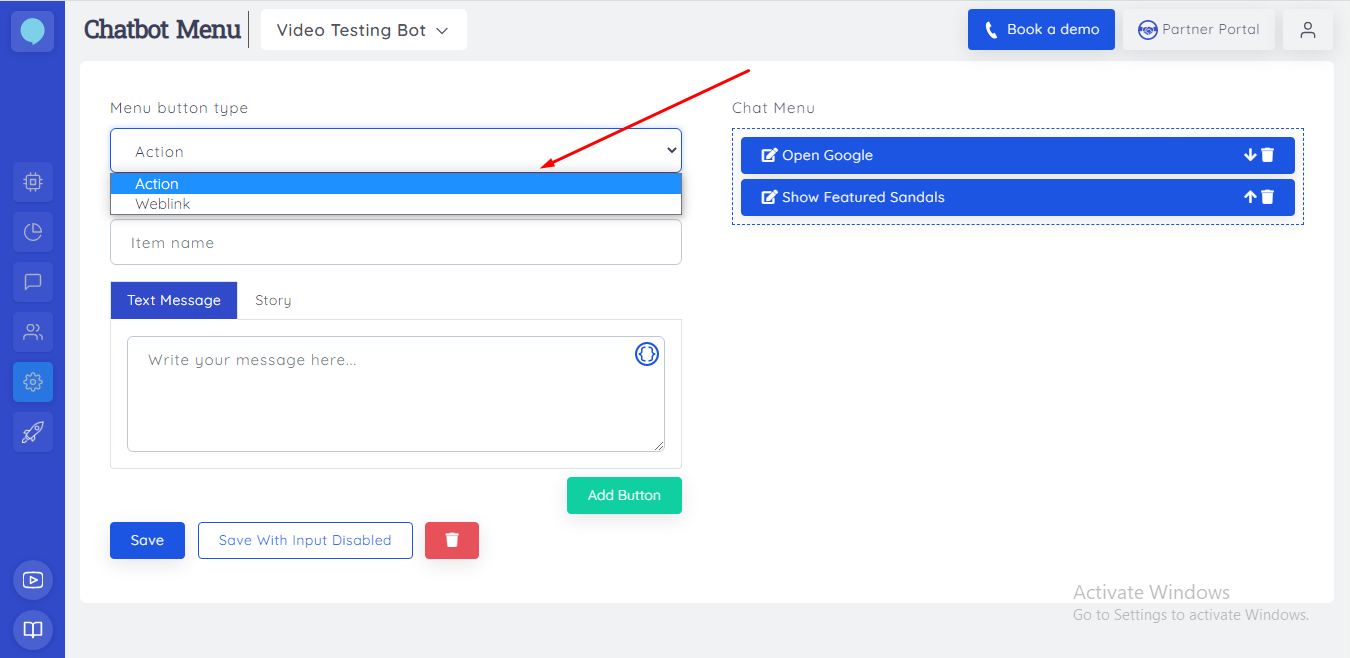
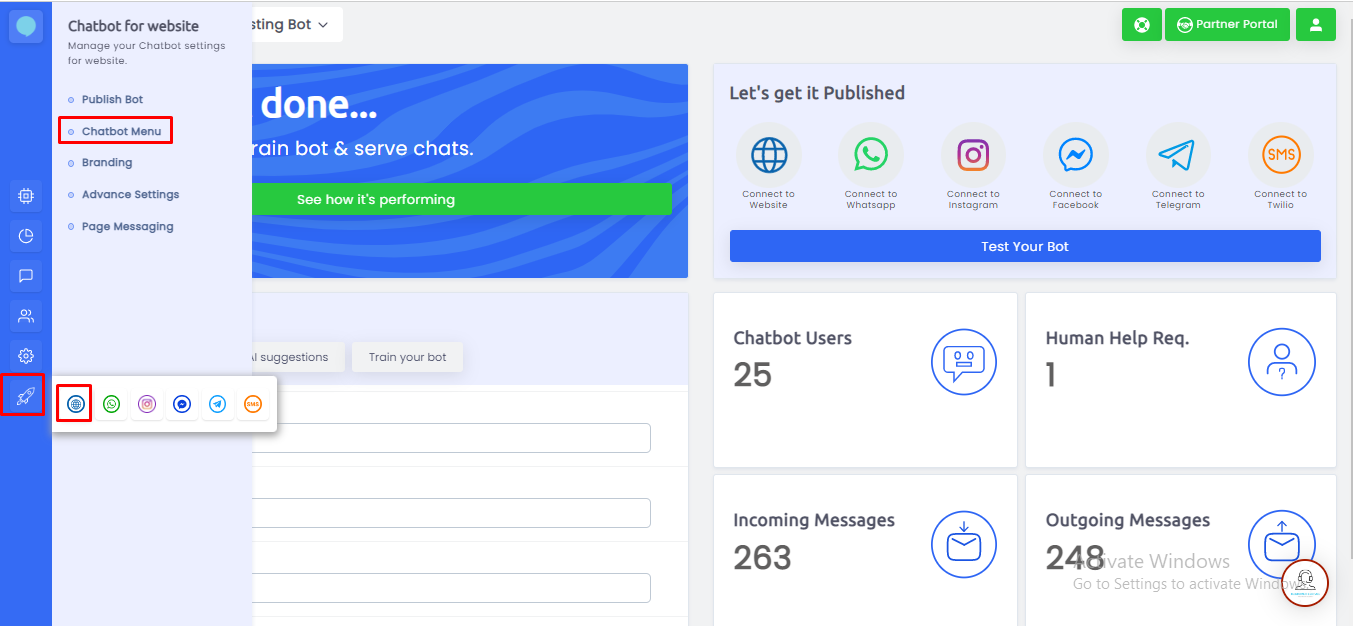
Creating a chatbot menu is very simple. Go to the toolbar on the left. Click on “Connect” then tap on "website icon" and click on "Chatbot menu"You will see an interface to create your personalized Chatbot Menu.There are 2 types of buttons you can create in a menu:ActionWeblink
Weblink Button:
A web link button contains a link to a webpage.
Action Button:
An action button can be of 4 typesBot Says: Let your bot say something in responseInitiate Story: Start an existing storySend Template: Show an existing templatePlugins: Use a plugin
Levels:
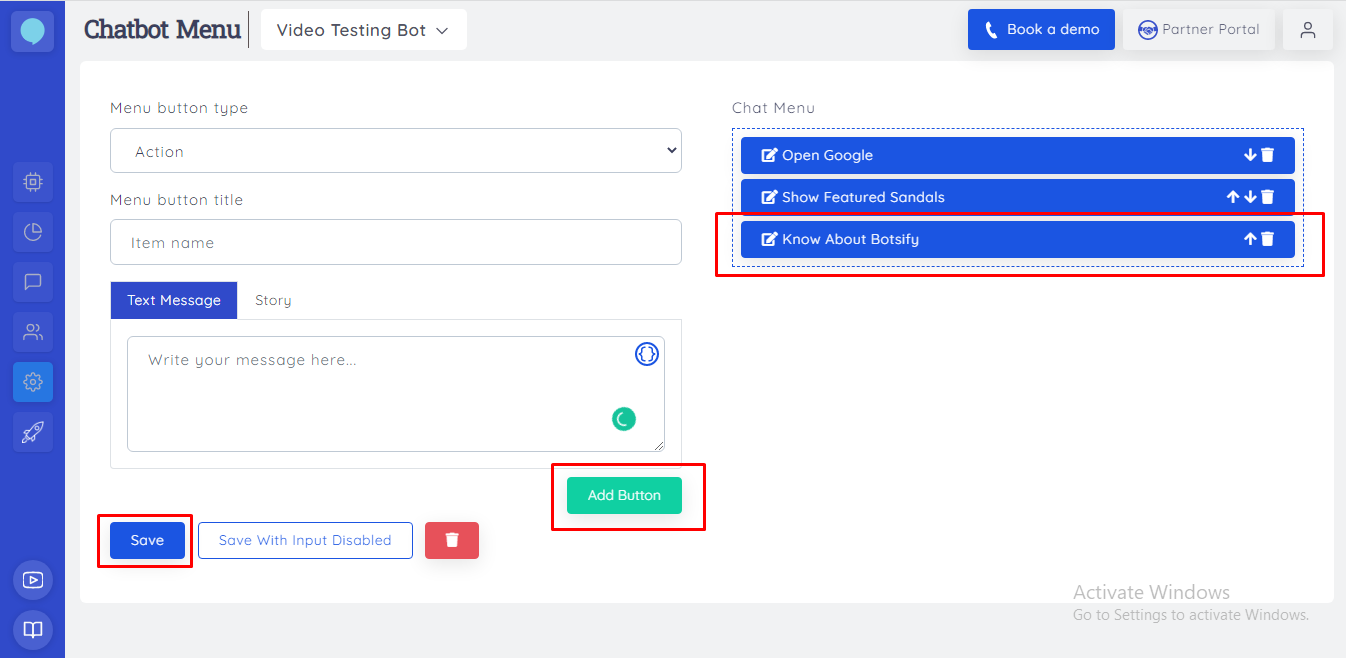
There are 3 levels of the menu:1st Level: Can have at most 3 buttons, these can be any of the three buttons mentioned above.2nd Level: It is only available when you have a parent button in the 1st level. At this level, you can have at most 5 buttons.3rd Level: It is only available when you have a parent button in the 2nd level. At this level, you can add only action and weblink buttons.After creating your menu click the save button and that’s it, you have successfully created your own chatbot menu!
How to Edit Chatbot Menu?
To edit your chatbot menu click on any button that you want to edit.Make your desired changes and then click the update button.Click save to save your chatbot menu changes made.

 You will see an interface to create your personalized Chatbot Menu.
There are 2 types of buttons you can create in a menu:
Action
Weblink
You will see an interface to create your personalized Chatbot Menu.
There are 2 types of buttons you can create in a menu:
Action
Weblink