Media Blocks are patterns that include various details for any process related to your business. Botsify lets you create customized media blocks for your chatbot in a few easy clicks
Step 1
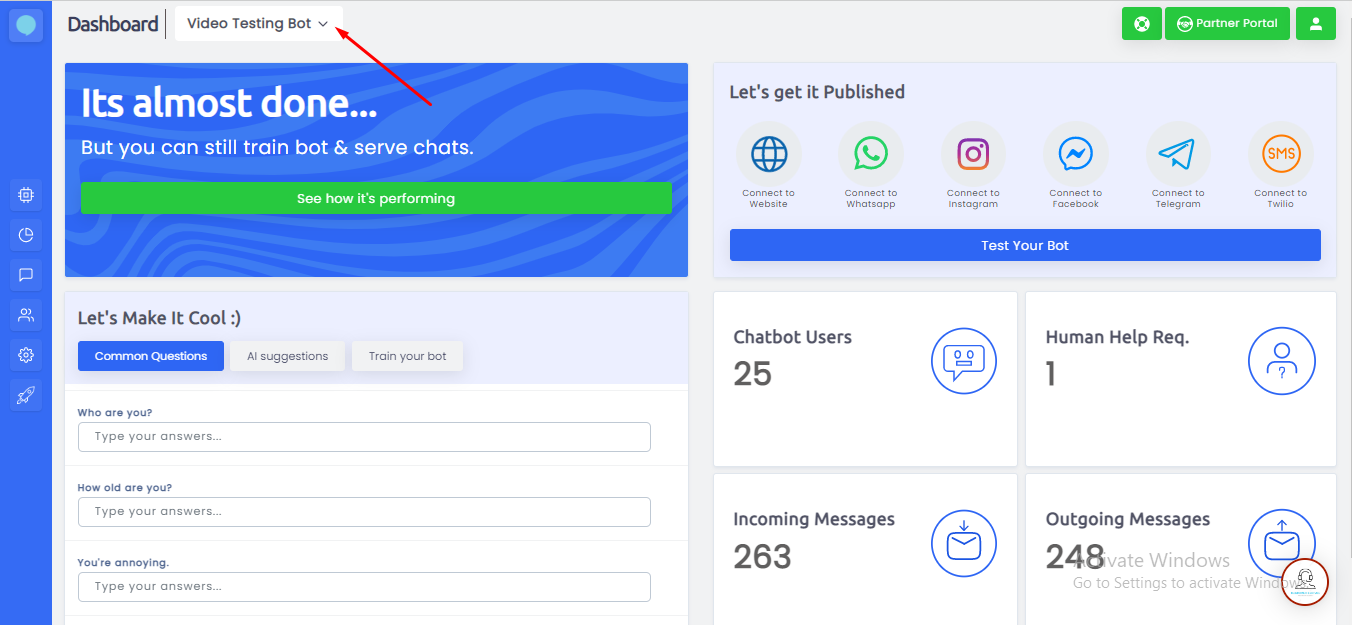
Log into your account on Botsify and from the dashboard select the chatbot from the top right dropdown for which you want to create a “Media Block”.
Step 2
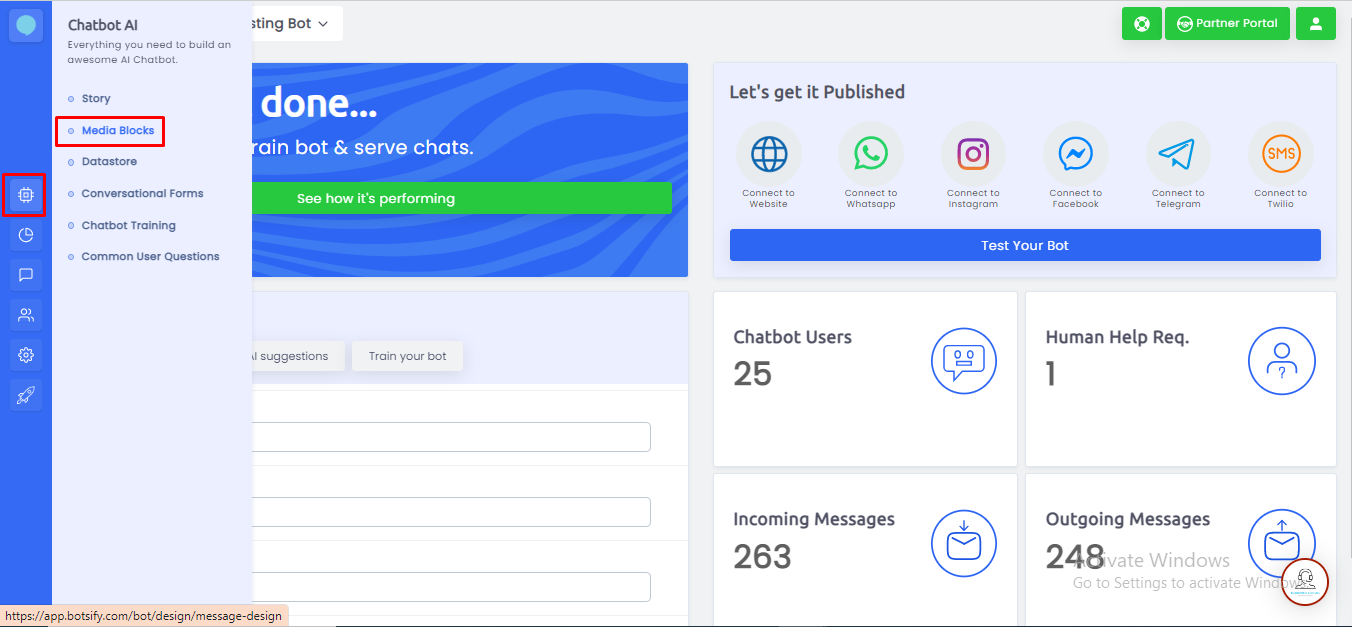
You will find a toolbar on the left of your dashboard. Click on the Chatbot AI tab and select “Media Block” from it.
Step 3
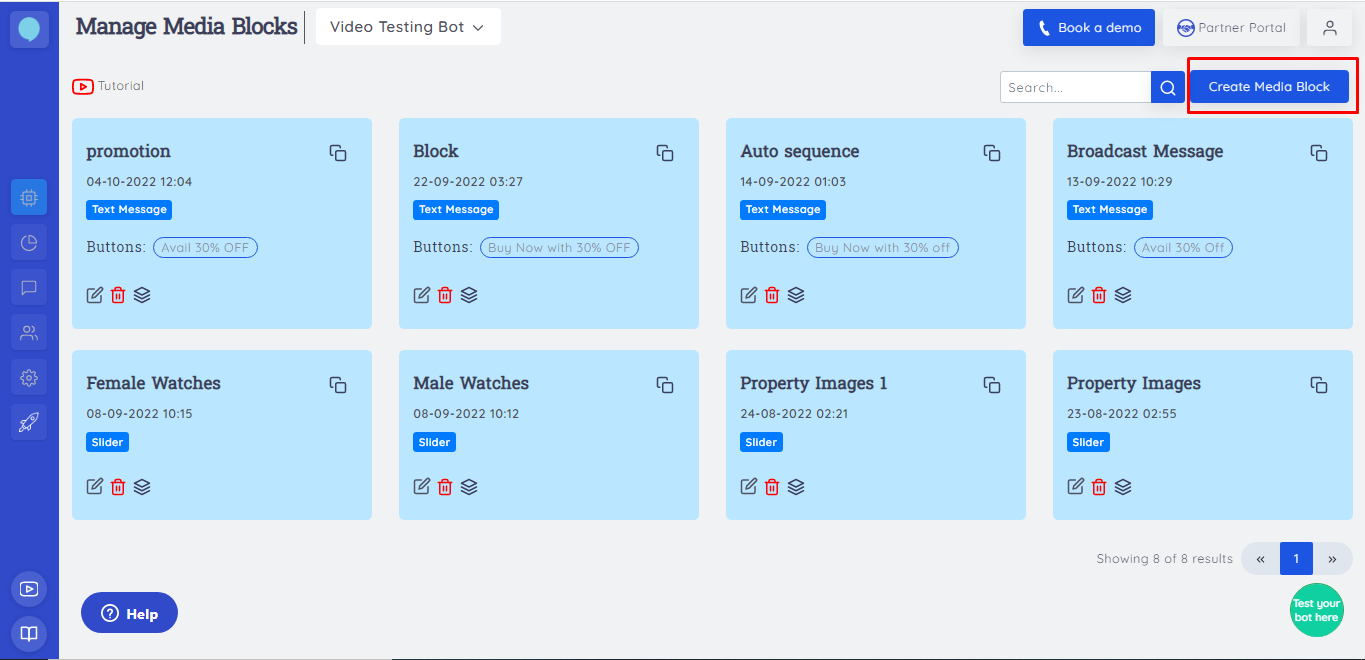
You will be redirected to the Media Blocks page. Click on “Create Media Block”
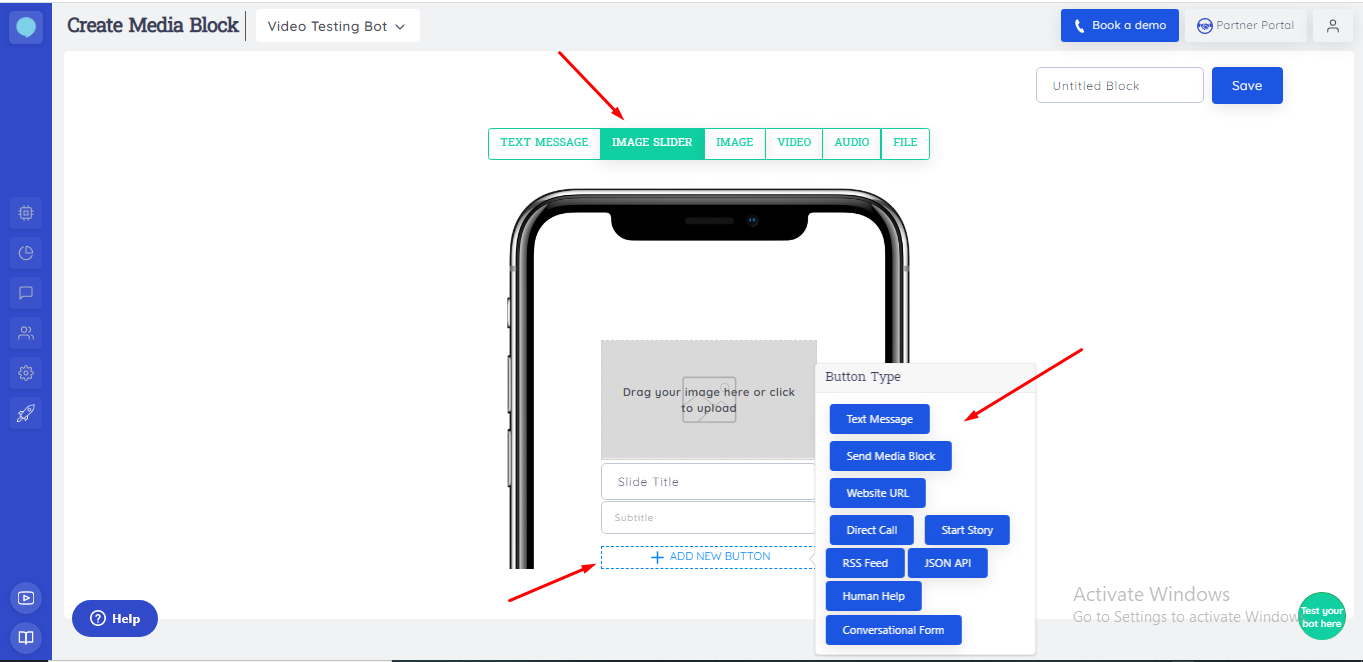
You will be redirected to a newly loaded page with different media block options.
Step 4
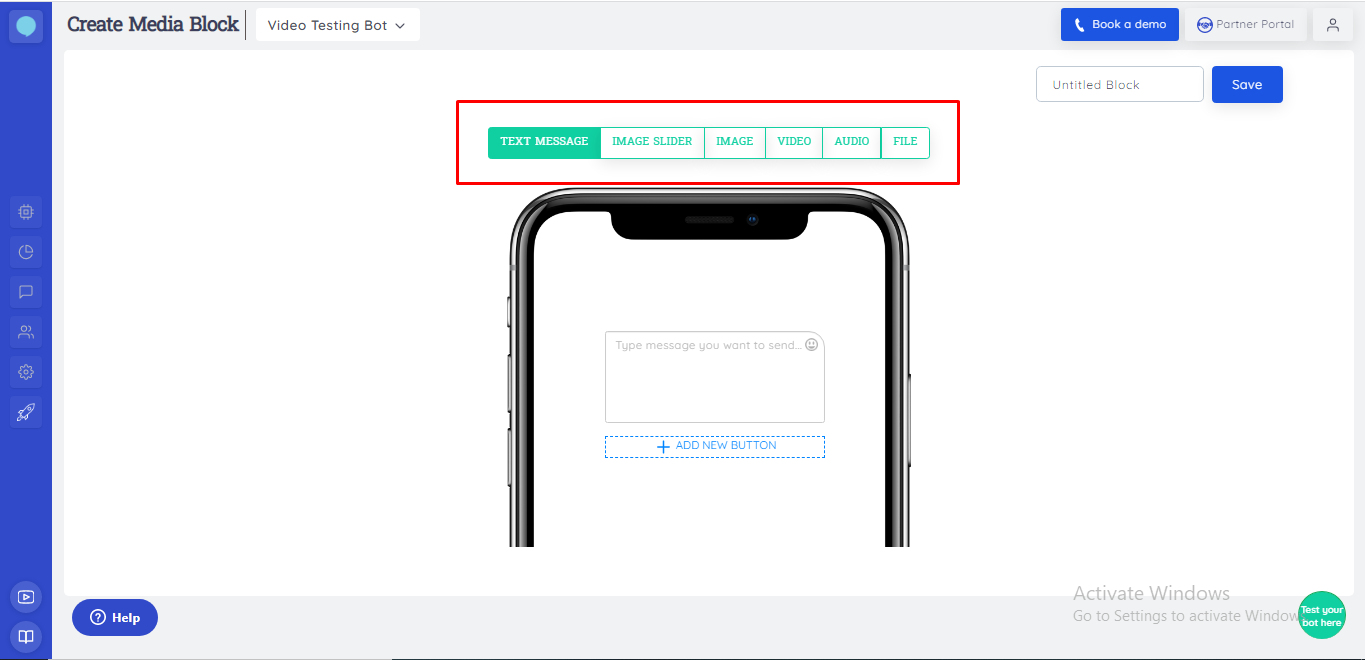
Say, you select the “Image Slider” option from the top.
Now you name your button block and add a brief description of it.
Click on “Add a Button” You will find various buttons in the pop-up. Select your respective buttons accordingly.
Here’s a rundown of all the options available:
Text Message
Write a brief introduction in the text area for the button block and its usage
Send Media Block
You can insert a media block into the message when clicked. Like all other buttons, its name can also be customized
Website URL
Here you can name and insert a button that opens any link you desire
Direct Call
This will initiate a call with a representative whose number you will have to provide
Start Story
This button initiates the story that your chatbot has been assigned
Stripe Payment
It lets you collect payment from the user after you have set up your Stripe account in Botsify
RSS Feed
Just add the URL, then with botsify RSS feed integration link the URL with any story, template, or even on the menu
JSON API
By using this feature you can watch out the number of responses you get across your URL added or connected with JSON
Conversational Form
Customized Conversational forms provide more fields to target what is your need to approach your new customers for lead generation
Human Help
Botsify human help integration provides you with the finest yet instant human help. Whether it is an easy or a complex one
A combination of the above options can be used to create a “Button Block”.
When you are done with the button block, click on the “Save” option on the top-right panel to save your button block for further work.

 You will be redirected to a newly loaded page with different media block options.
 Here’s a rundown of all the options available: