Now scroll down to “App Details For Current Selection”
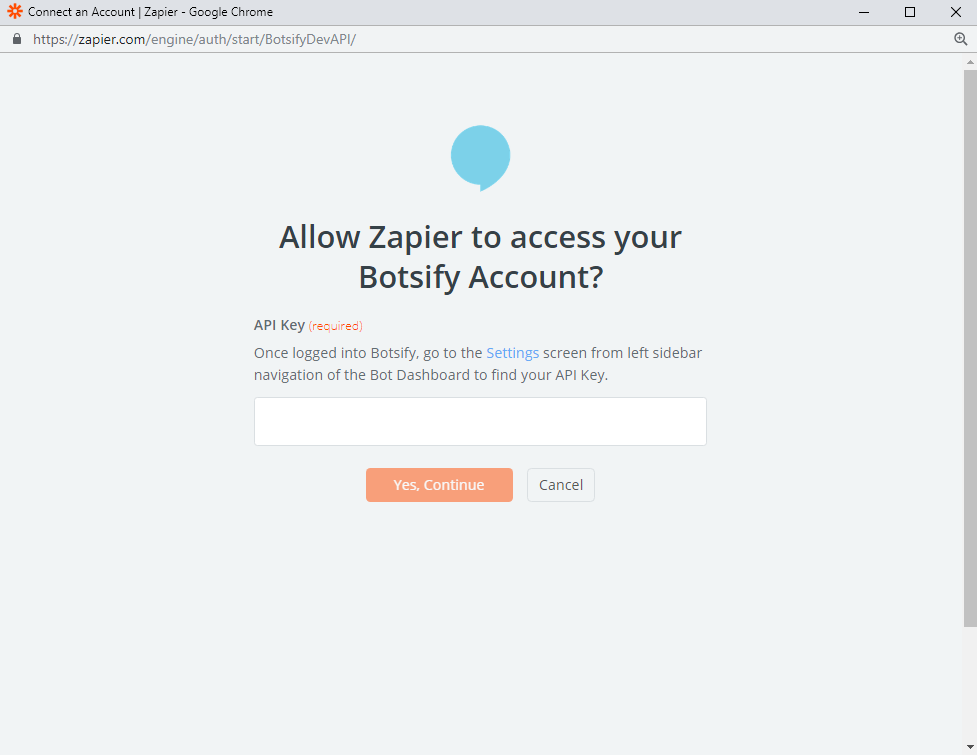
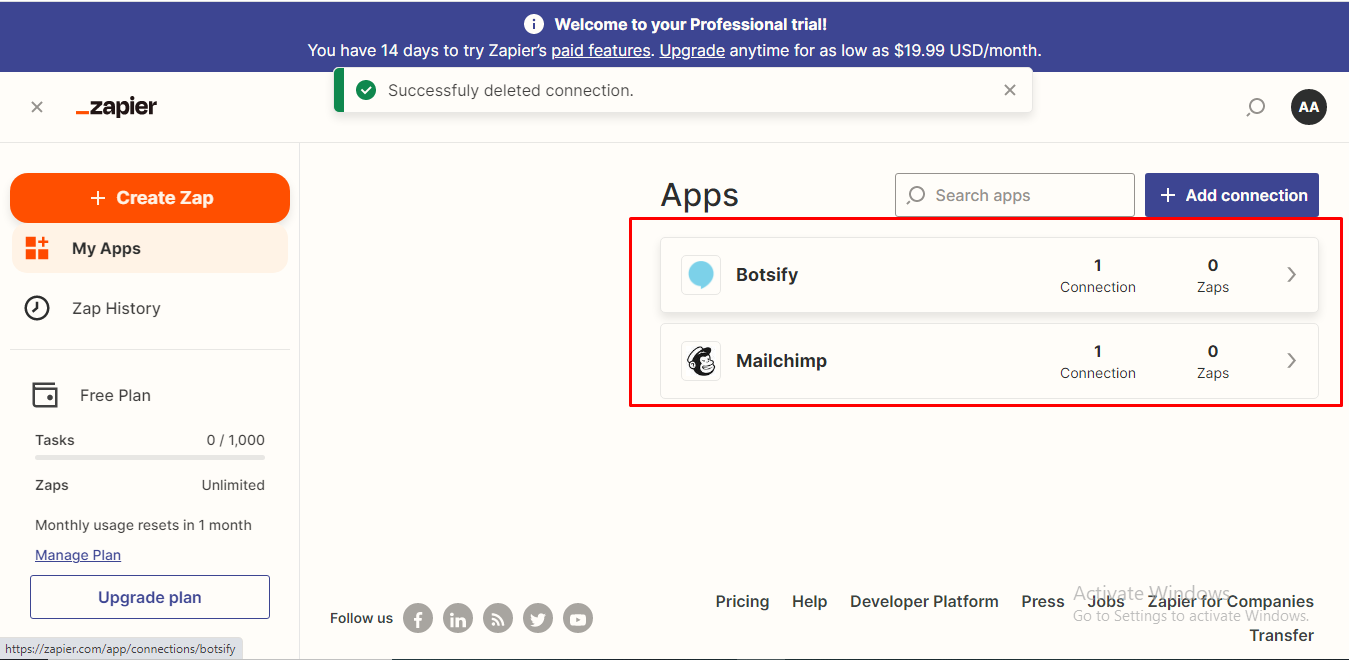
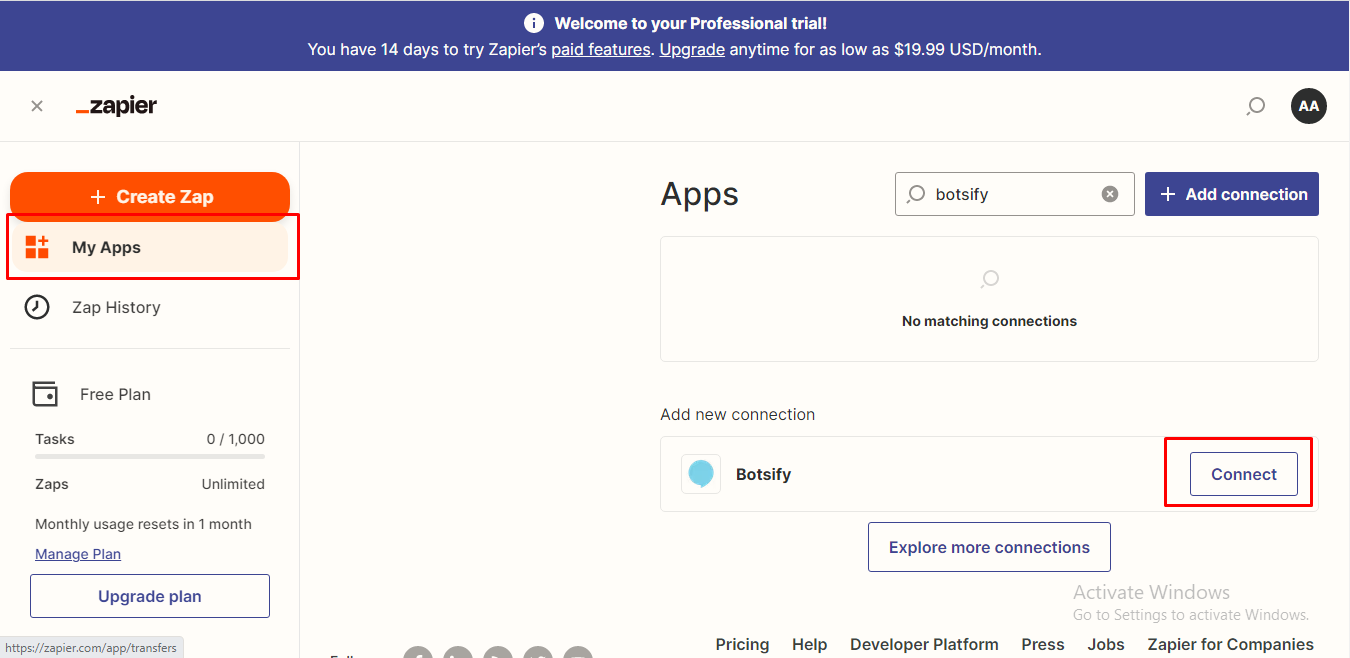 Connect your Botsify Account by pasting API key from Botsify Settings > API Key
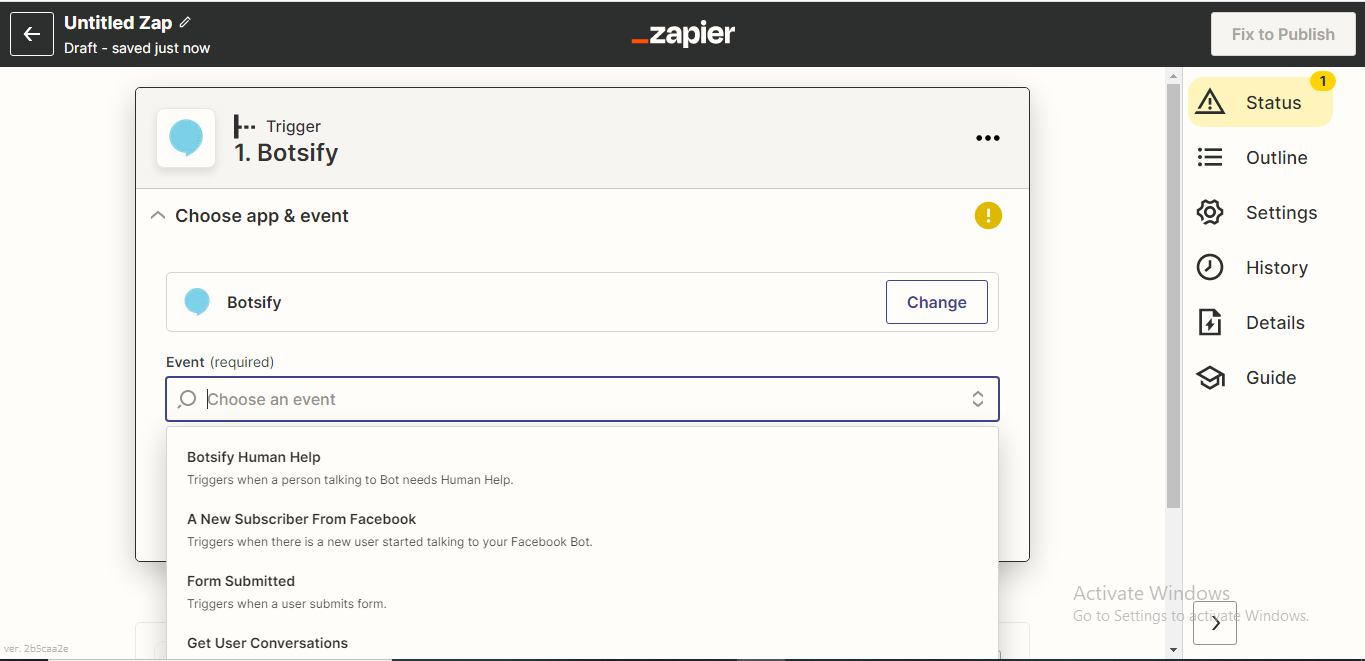
 Select Botsify as your Trigger App
 Select “Form Submitted” and Save + Continue for further process
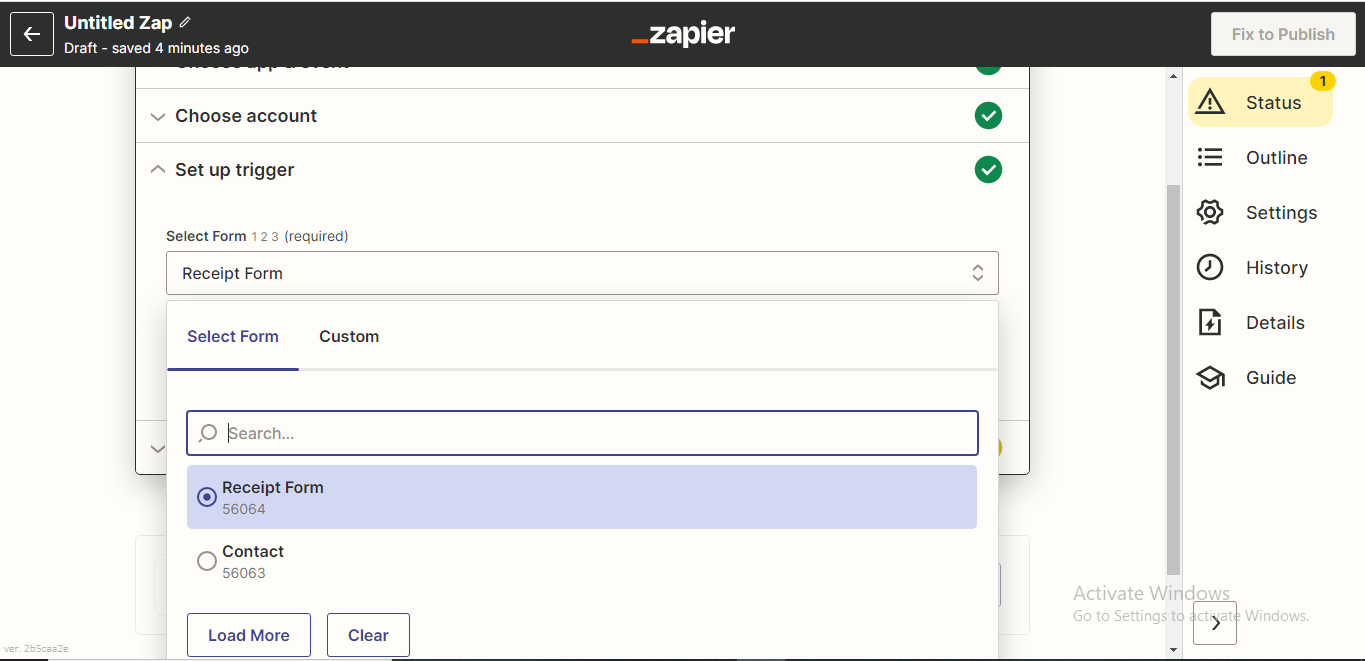
 Add an existing form from your Botsify Account or Create a Form first. Enter “Continue”
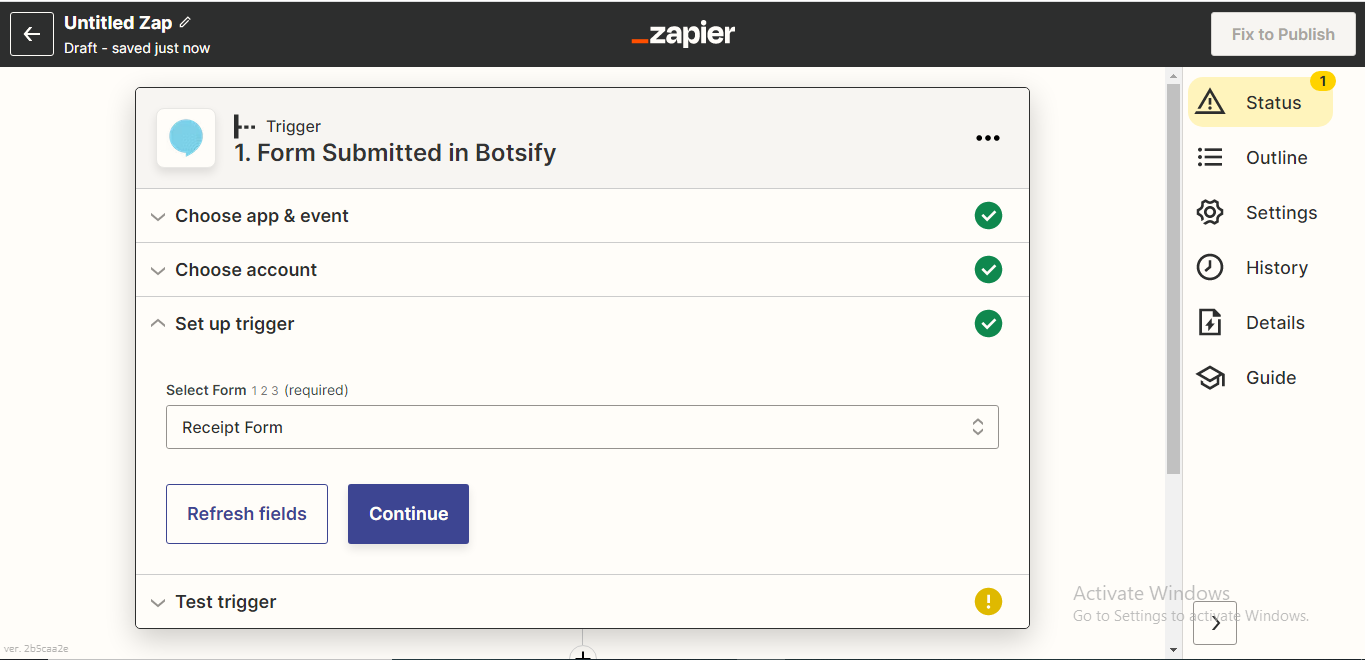 Select any 1 Sample Form to set up your zap. You can check the format from the drop-down
 Your trigger is ready! Now Choose an action to move further.
I have chosen Google Sheet
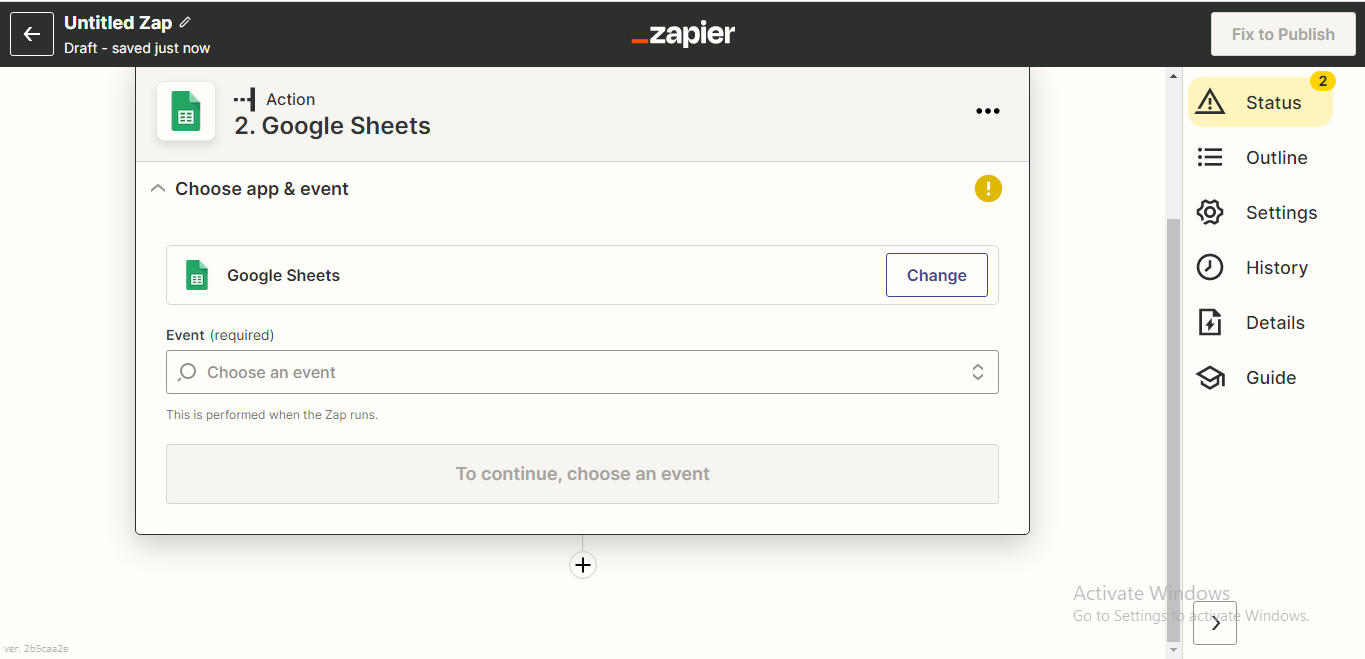
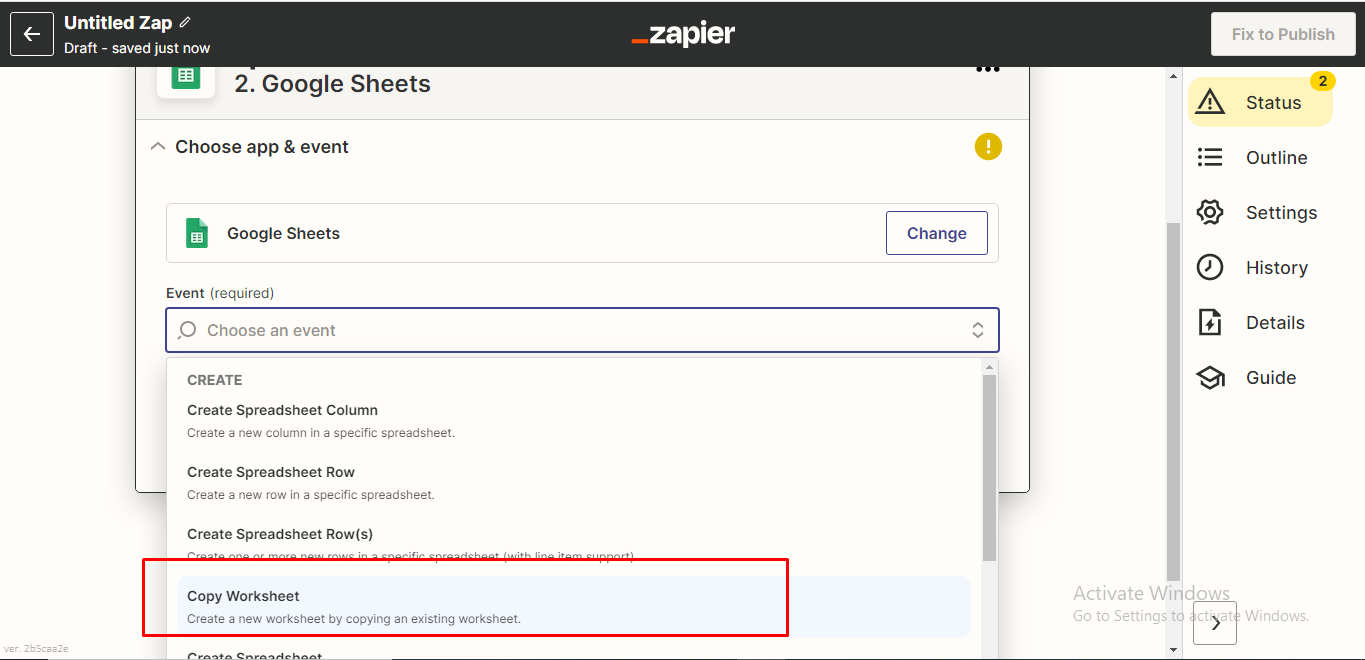
Your trigger is ready! Now Choose an action to move further.
I have chosen Google Sheet
 Choose the purpose of your sheet accordingly then Save + continue.
We are collecting Forms’ data from Botsify Forms.
So, I have selected “Create a Sheet.”
Choose the purpose of your sheet accordingly then Save + continue.
We are collecting Forms’ data from Botsify Forms.
So, I have selected “Create a Sheet.”
 Create a sheet on Google SpreadSheet according to your Botsify forms.
Select the specific spreadsheet.
Name your columns and fill in the required fields accordingly.
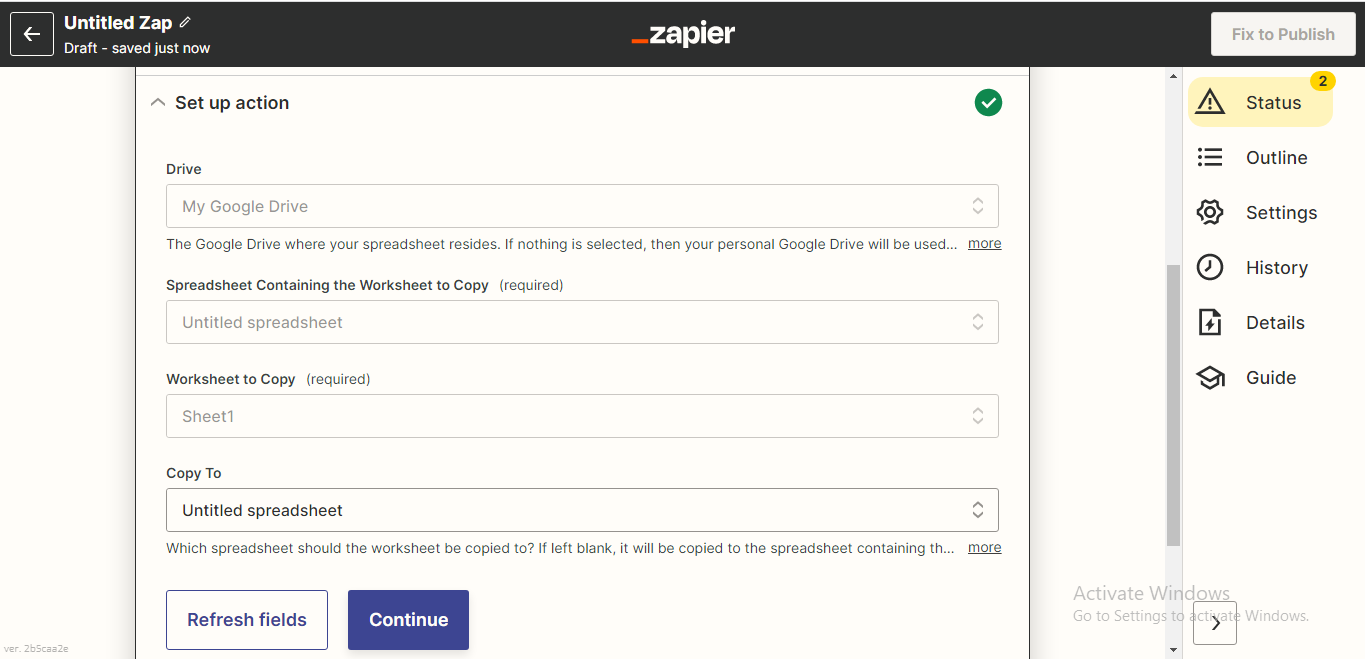
Create a sheet on Google SpreadSheet according to your Botsify forms.
Select the specific spreadsheet.
Name your columns and fill in the required fields accordingly.
 Now you will land to a new window. Either test the sample or skip the step.
Here is how the test sample looks like.
Now “Fetch & Continue”
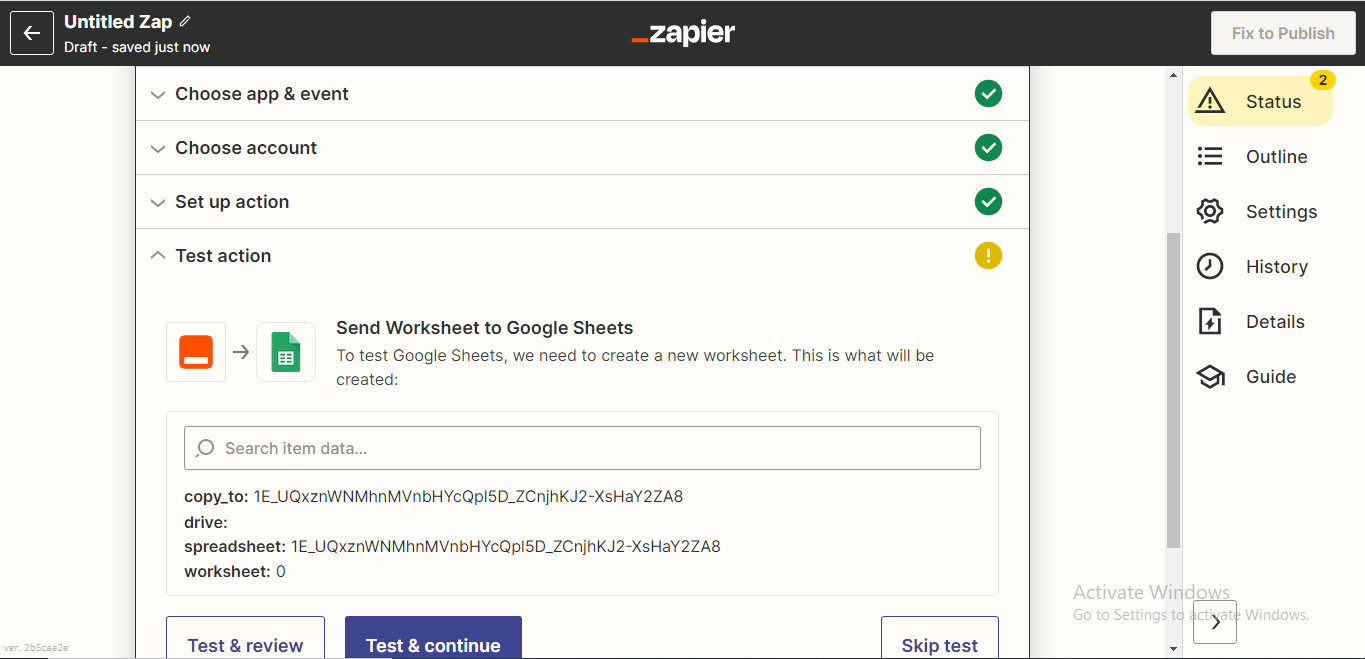
Now you will land to a new window. Either test the sample or skip the step.
Here is how the test sample looks like.
Now “Fetch & Continue”
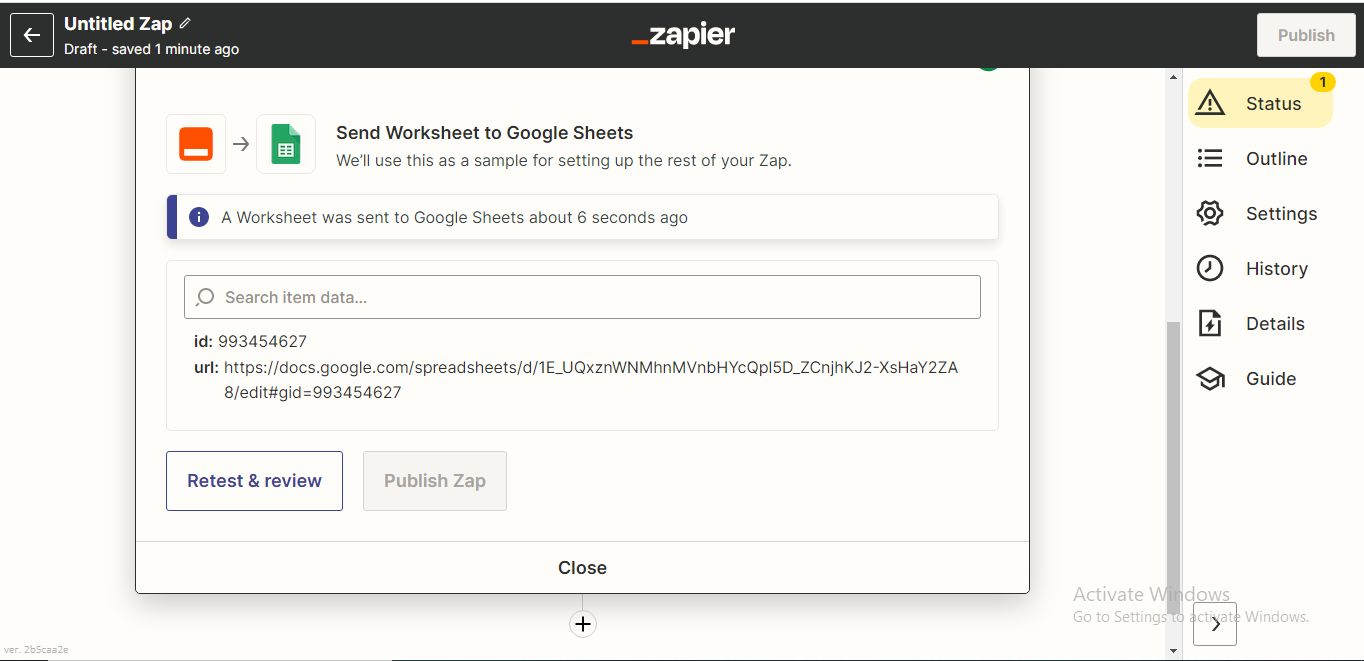
 After the successful test Enter “Finish”
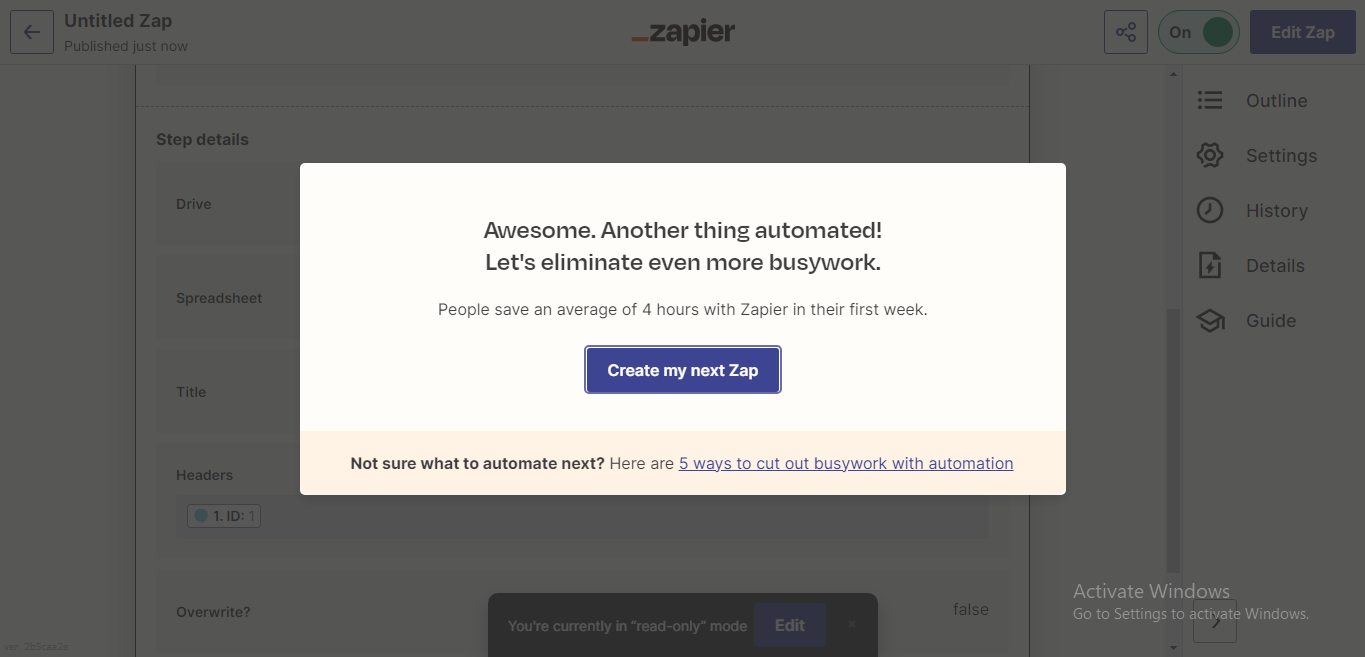
 Give a name to your ZAP
Toggle Right to turn on your Zap!
Your Google Sheet Zap is ready to use!
Give a name to your ZAP
Toggle Right to turn on your Zap!
Your Google Sheet Zap is ready to use!