
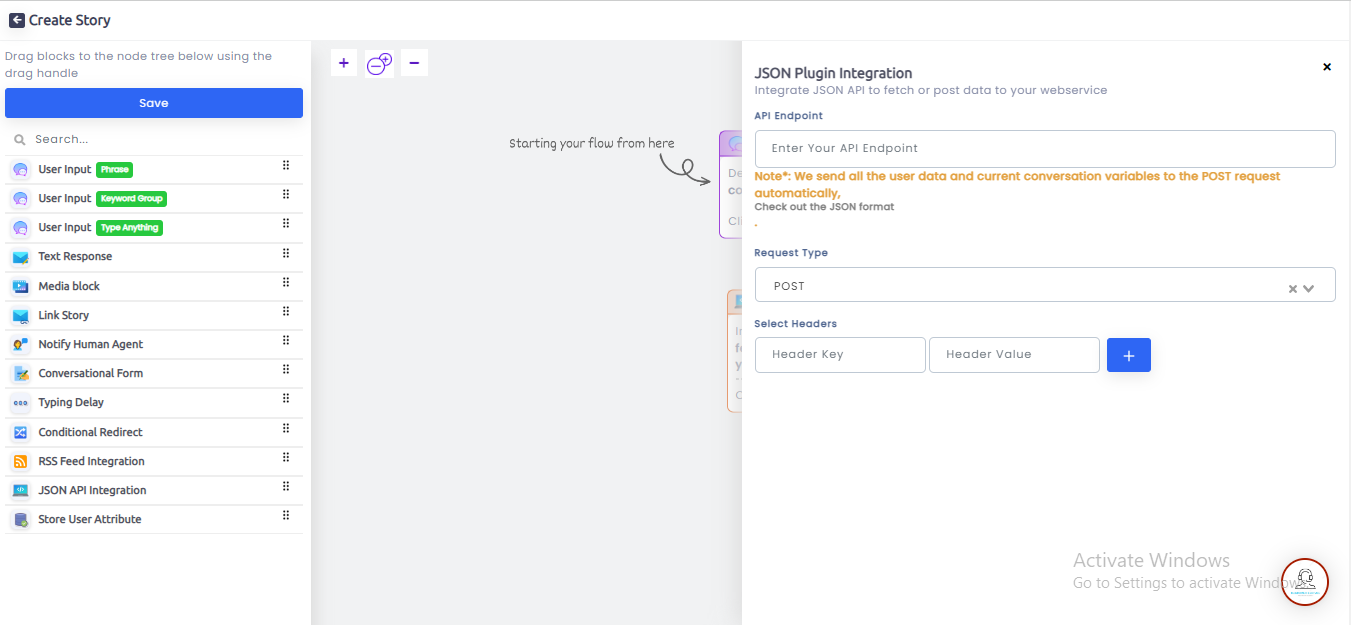
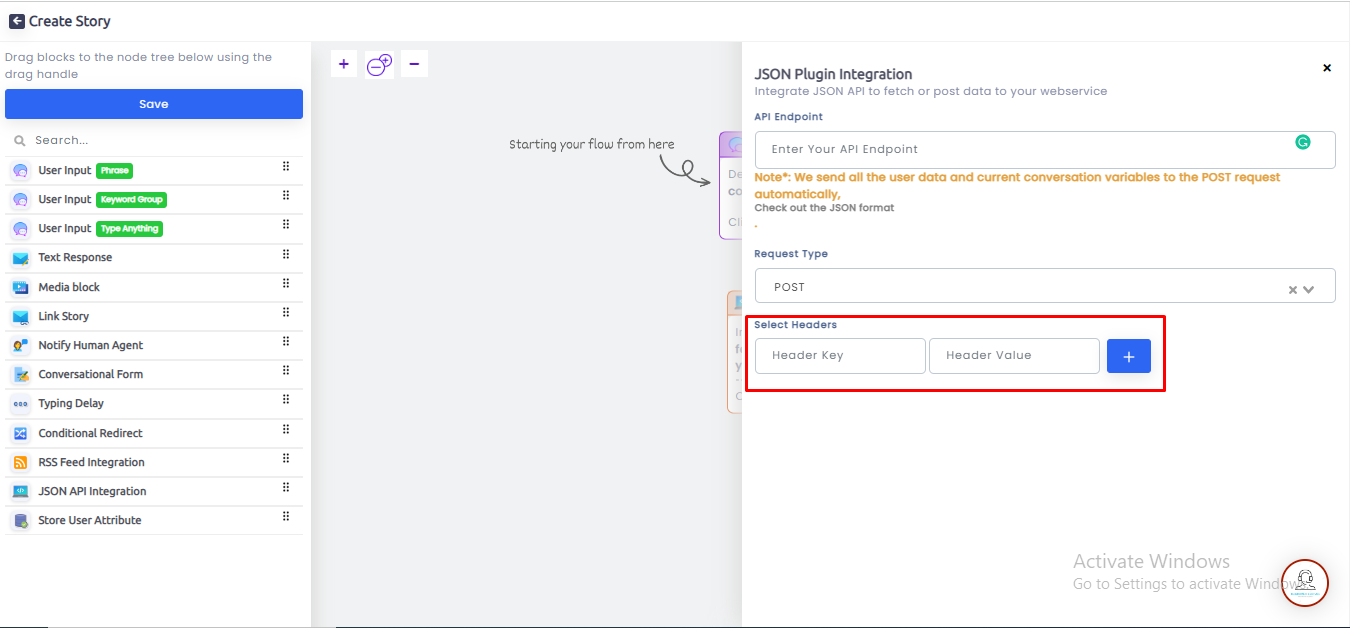
 And start the configuration as in the box below. So here I don’t need any special headers to make this API work with my chatbot, however, your case might be different, so feel free to fill in the header’s key values.
 NOTICE, I haven’t used the complete API link, but a particular city’s weather. Because as mentioned earlier the first one as a whole is not the format for the JSON API, which our chatbot accepts.
 ?Step 4 - Making it dynamic with Entities
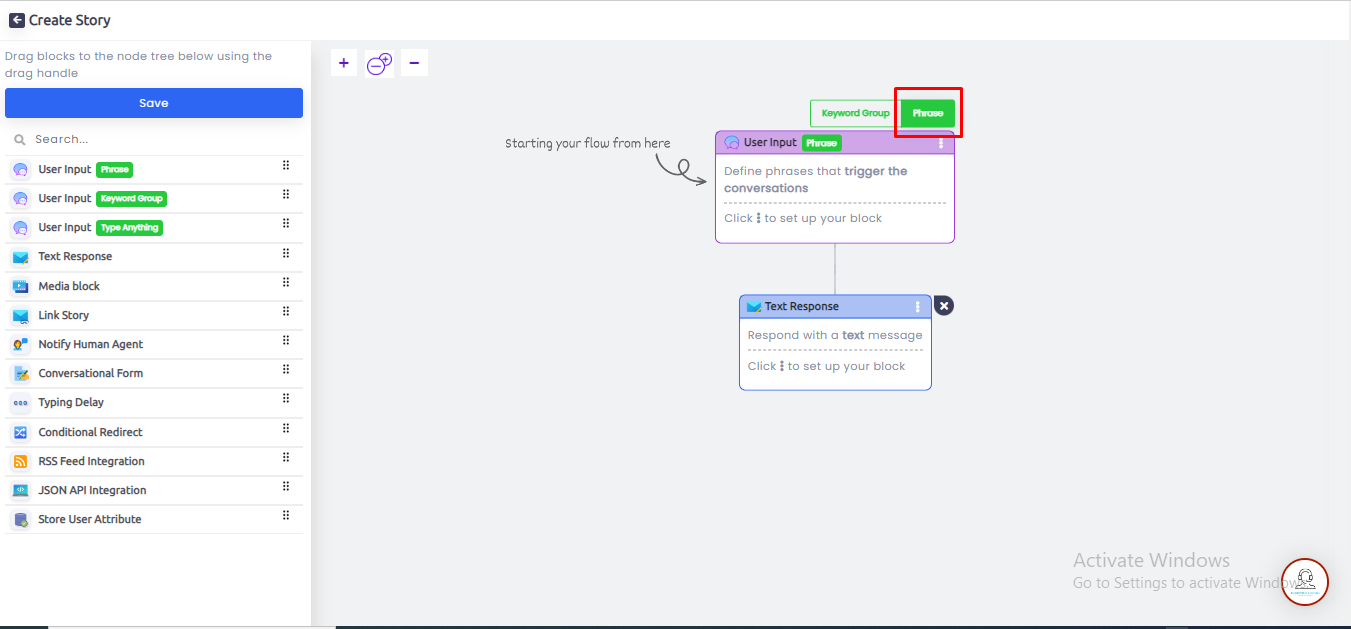 Now select the keyword match and click on Variable then Select “location” from the ‘Datastore’ drop which is an artificially intelligent datastore.
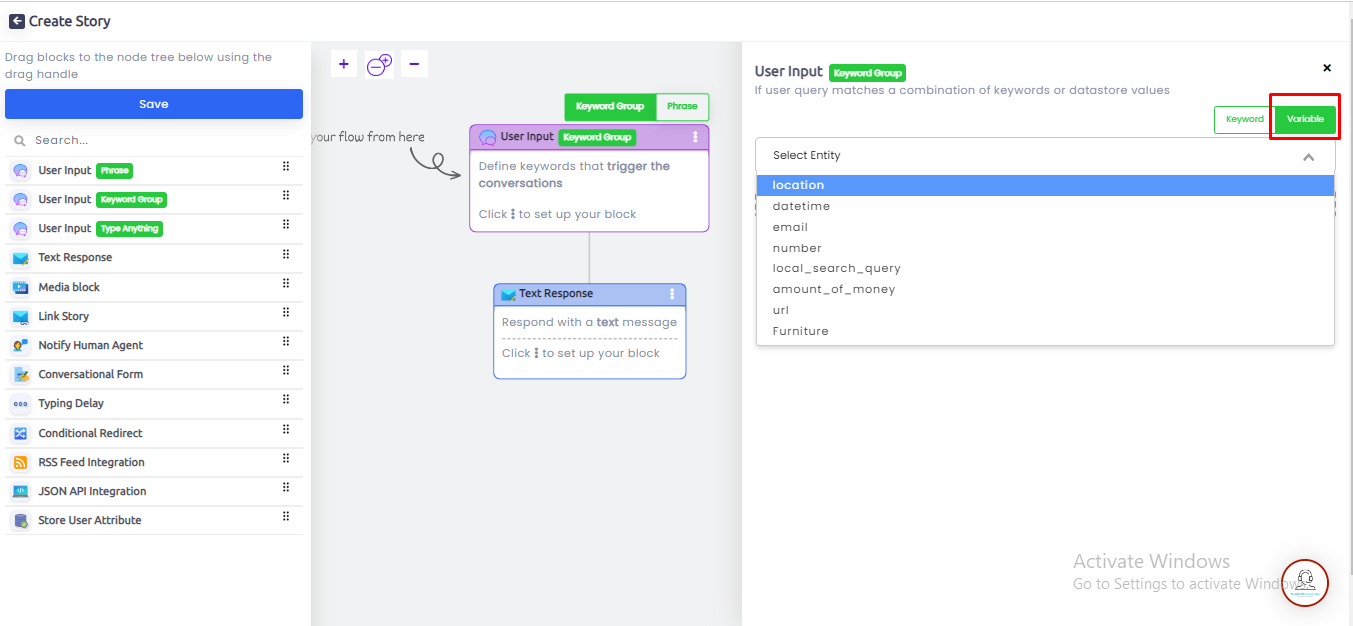 Your chatbot will see if your user has any location in their sentence and will take it out as a variable in the {location} variable.
Now we have to make one small change in our JSON API Link; replacing {last_user_msg} with {wit/location}.
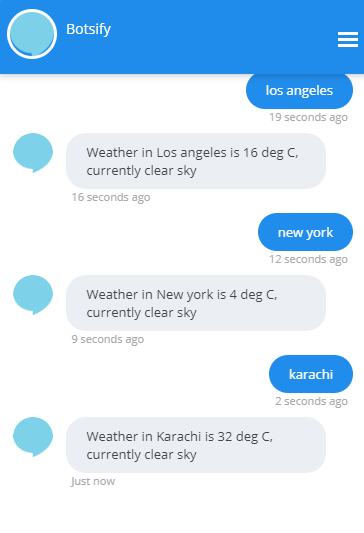
Let’s try our chatbot.
Perfect! Your weather chatbot is ready.
With just one small change we are now able to answer all different locations our users might mention to our chatbot.
Not just that, now our chatbot recognizes the location from the user’s sentence as well.
Check out some other tutorials to make your chatbot interesting with Botsify here.
Your chatbot will see if your user has any location in their sentence and will take it out as a variable in the {location} variable.
Now we have to make one small change in our JSON API Link; replacing {last_user_msg} with {wit/location}.
Let’s try our chatbot.
Perfect! Your weather chatbot is ready.
With just one small change we are now able to answer all different locations our users might mention to our chatbot.
Not just that, now our chatbot recognizes the location from the user’s sentence as well.
Check out some other tutorials to make your chatbot interesting with Botsify here.