Support Center

Find your answer in our knowledge base

How to embed website chatbot widget code

Botsify offers several channels to integrate with your Chatbot. One of the widely used channels is chatbots for websites.

Embedding a chatbot on your website is easy and a matter of a few steps. You just need code edit access on your website and the website should be live on the internet.

Now After Signing up, move to dashboard -> Settings -> Publish Bot

publish bot


Click on it and you will see multiple Channels to integrate the chatbot with. Now Click on “Connect to Website”

Website Publish Bot

You will see the 2nd option which is “Install Code Yourself”. Click on it and copy the code to add it to your website. Instructions are also written do follow that and add your code before ending the body tag.

 Embed Code

It is done you should see a chatbot widget appear on your website like this:


If you have a website made using WordPress then you can use our WordPress plugin to embed your chatbot in your website easily

Inline Embed Code

If you find it hard to understand and don’t want to use the code yourself, you can always use the third option and email the code to your developer who can do this for you.

How to Build Chatbot Menus for Your Chatbot

Chatbot Menu is an always-on user interface that helps people discover and access the core functionality of your chatbot at any point in the conversation.

How to Build a Chatbot Menu?

Creating a chatbot menu is very simple. Go to the toolbar on the left. Click on “Connect” then tap on “website icon” and click on “Chatbot menu”

chatbot menu


You will see an interface to create your personalized Chatbot Menu.


There are 2 types of buttons you can create in a menu:


Action


Weblink


Weblink Button:


A web link button contains a link to a webpage.

Action Button:


An action button can be of 4 types


Bot Says: Let your bot say something in response


Initiate Story: Start an existing story


Send Template: Show an existing template


Plugins: Use a plugin


Levels:

There are 3 levels of the menu:


1st Level: Can have at most 3 buttons, these can be any of the three buttons mentioned above.


2nd Level: It is only available when you have a parent button in the 1st level. At this level, you can have at most 5 buttons.


3rd Level: It is only available when you have a parent button in the 2nd level. At this level, you can add only action and weblink buttons.


After creating your menu click the save button and that’s it, you have successfully created your own chatbot menu!

How to Edit Chatbot Menu?

To edit your chatbot menu click on any button that you want to edit.


Make your desired changes and then click the update button.


Click save to save your chatbot menu changes made.


How to: Collect Data through Chatbot Forms

Learn how to collect data through chatbot forms at ease and choose how to receive responses!

Log on to Botsify. Login with your Facebook or email and select a page or chatbot (your choice).

You will now be redirected to the dashboard. From there, click on Chatbot AI on the side menu on left then select Conversational Forms from it.

conversational form

Now, that you are redirected to the “Conversational Forms” page, click on Create A Form.

Enter an appropriate name for your form so you can keep track.

Customize the form fields as you like. You can choose from a variety of options as to what kind of response you want to record. And click NEXT

Choose how you want to receive the responses. You can call an API with response data, get the responses emailed to you, or store them in a sheet or table.

You can also allow the chatbot user to enter multiple submissions and edit their responses. A message after the submission may also be inserted.


Can I Turn Off The Chatbot When Needed?

This tutorial will guide you though the process of turning your chatbot on or off. This is useful when you want to make changes to your chatbot’s story or media block.

Login to your account on Botsify and then select the “general settings” from the menu to proceed.

General Settings

The following page will appear:

Then from the drop-down menu select ‘Yes’ to turn the chatbot off and then save it

Creating a story for chatbot

A story is how your chatbot will respond to expected messages.

You can create an appropriate scenario for your chatbot to follow. You have to be careful while creating a story because it can break if an unexpected question arises. 

Create multiple stories for your users!

Here is a brief tutorial on how to create a story on Botsify.

Step 1

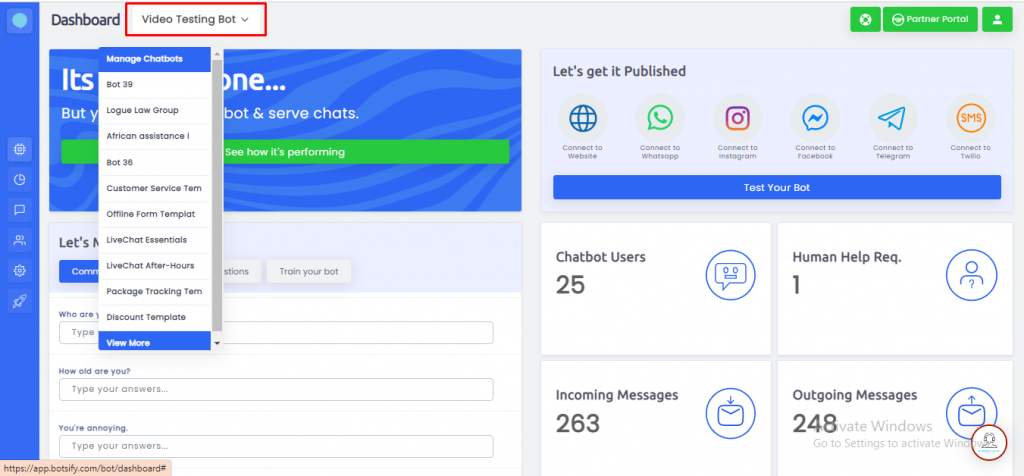
Log into your account on Botsify and from the top right of the dashboard select the chatbot for which you want to create a story.

selecting chatbot


Step 2

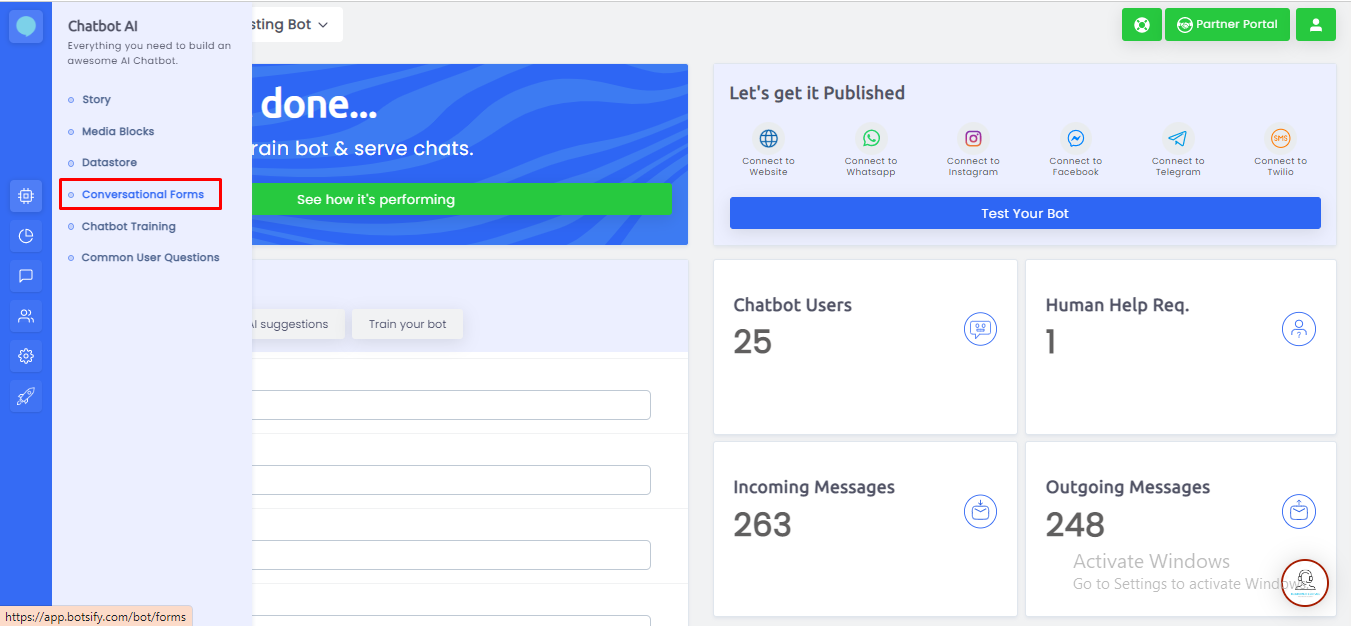
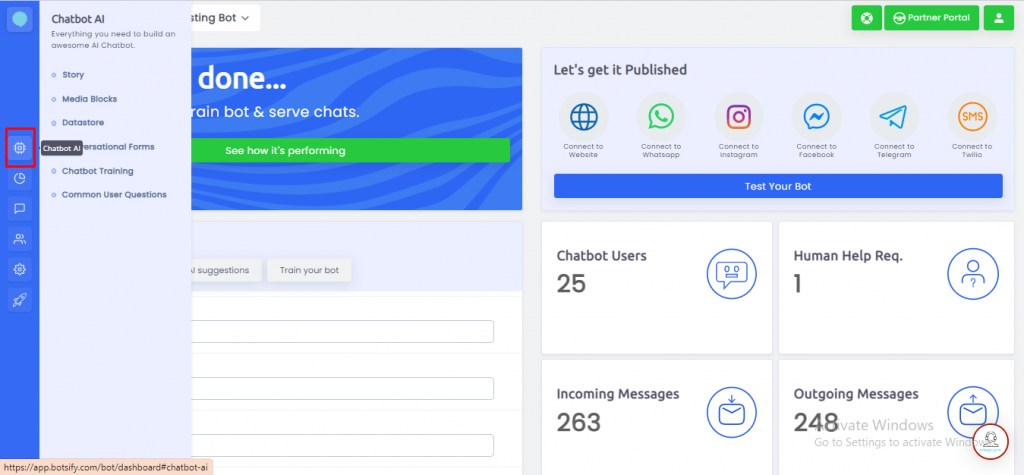
Once you have selected the chatbot, go to Chatbot AI > Story
Chatbot AI


Step 3

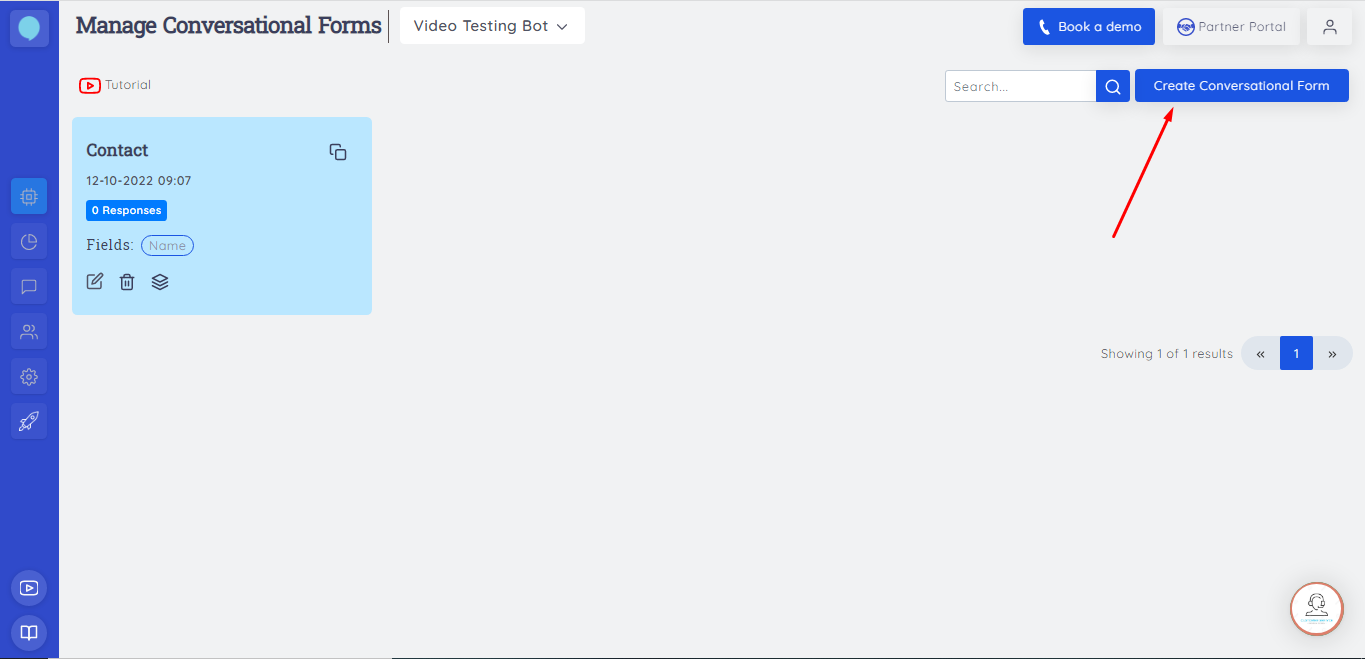
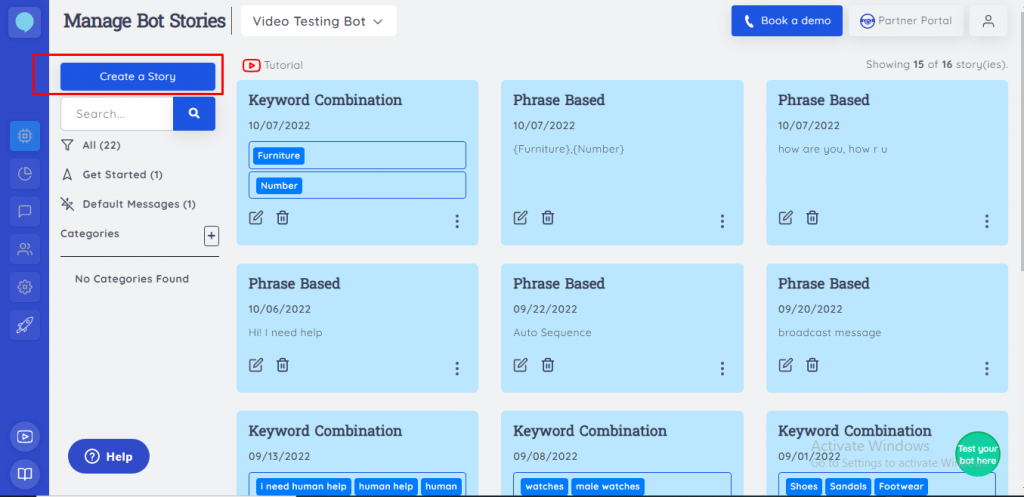
You will land on a new page, select “Create Story” from the center of the page.


Step 4

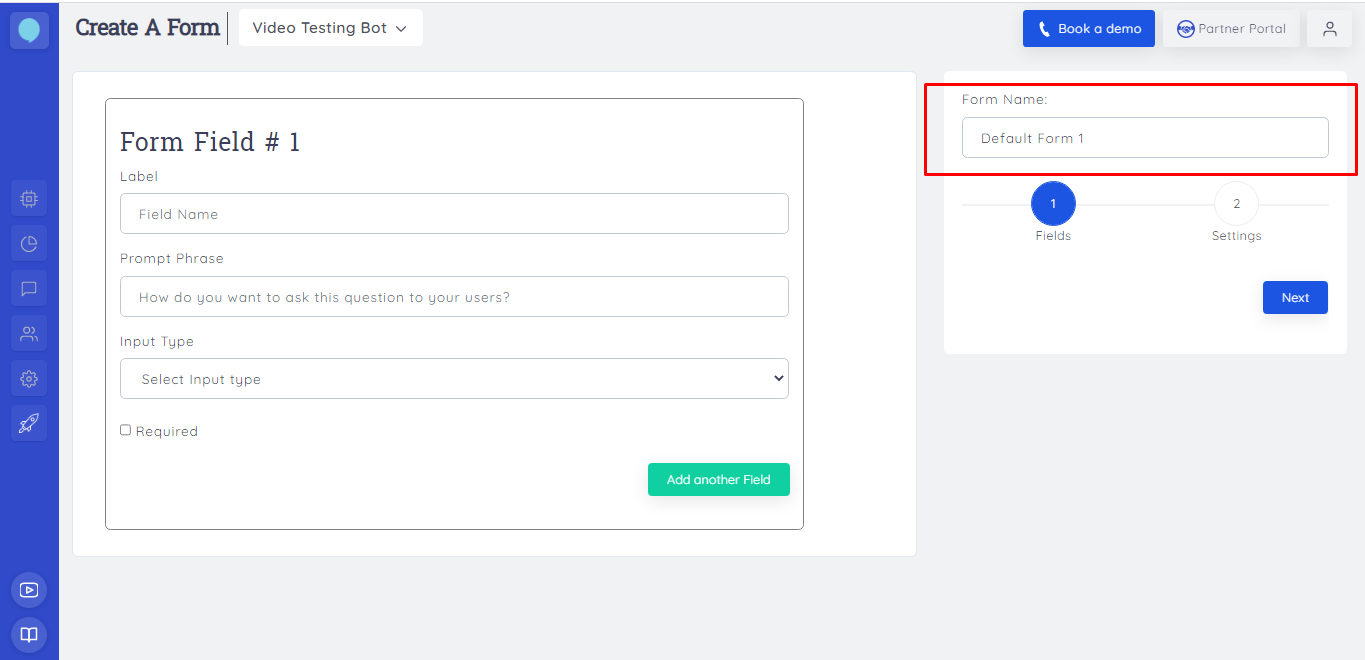
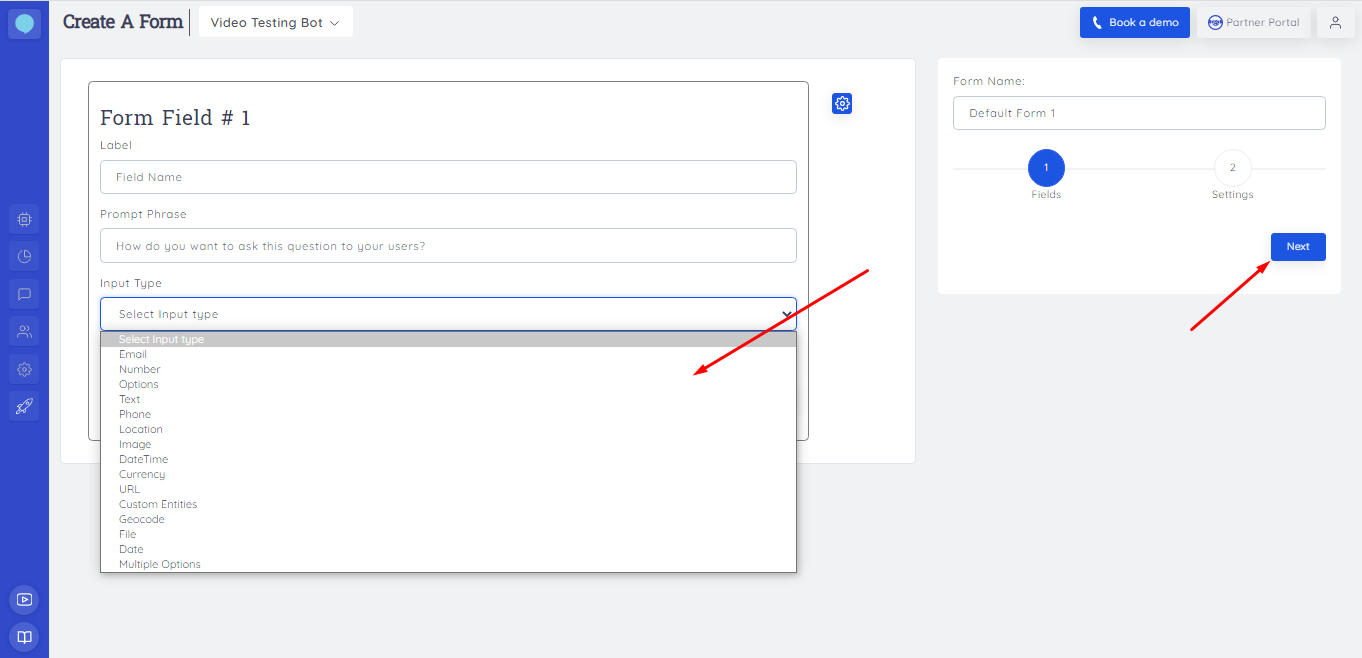
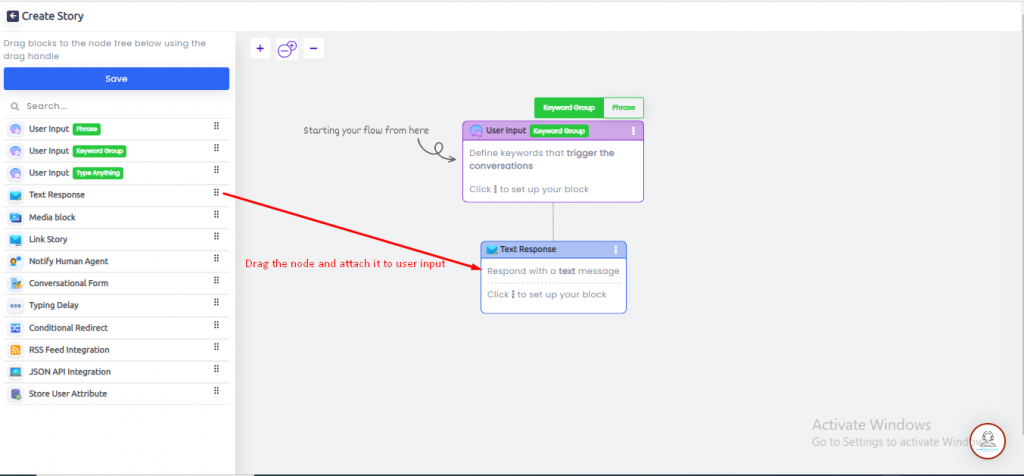
On the “Create Story” page you will be presented with the story menu (at the extreme left side) and you will have to carry out a conversation to program the chatbot.
add text response


Step 5

On the left, you have the user’s dialogue box and on the right, you have the chatbot’s dialogue box.
In the user’s dialogue box, you will notice that there are 2 options:

  • Keyword Combination
  • Phrase

keyword and phrase match


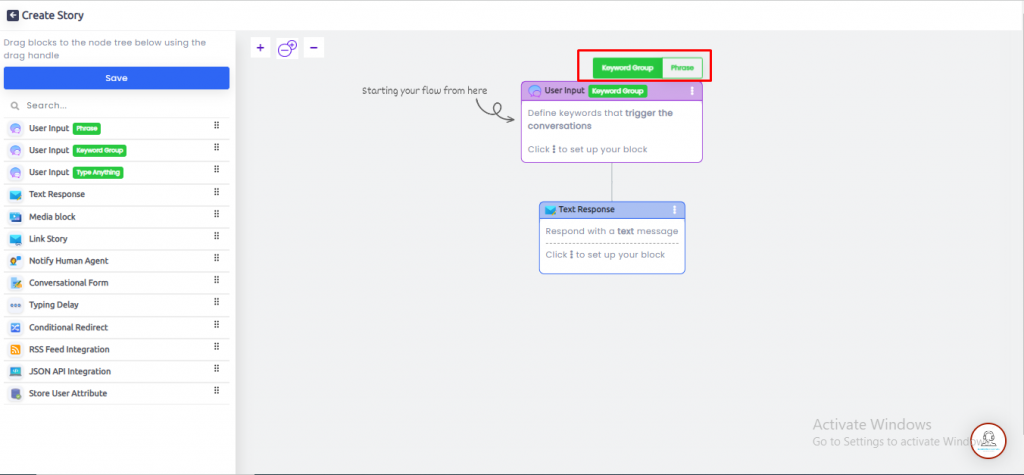
Keyword Combination: 

If the user query matches a combination of keywords or datastore values (previously entities)

Phrase: 

If the user query is similar to the phrase

If you select Phrase  you will notice an input field that says “Add similar phrases”, in the old format you had to write similar phrases but not now, Botsify plays with ease

Click on generate similar phrases and “BOOM” the AI will show more than 10 similar phrases that you can set in your similar phrases.

generate similar phrases


Now let’s take a look at the chatbot dialogue box. There are a couple of options for it.

Features in story


First, the input field “Bot Says” allows you to write the response you want your chatbot to give.

Beside it, is a Variables button. This contains variables such as the user’s first name, last name, and last user message. You can use these variables in your response.

Add alternate responses that allows you to write other possible responses that are related to the original response.

Last but not the least, is the quick reply. To know more about Quick Replies you can read it here.

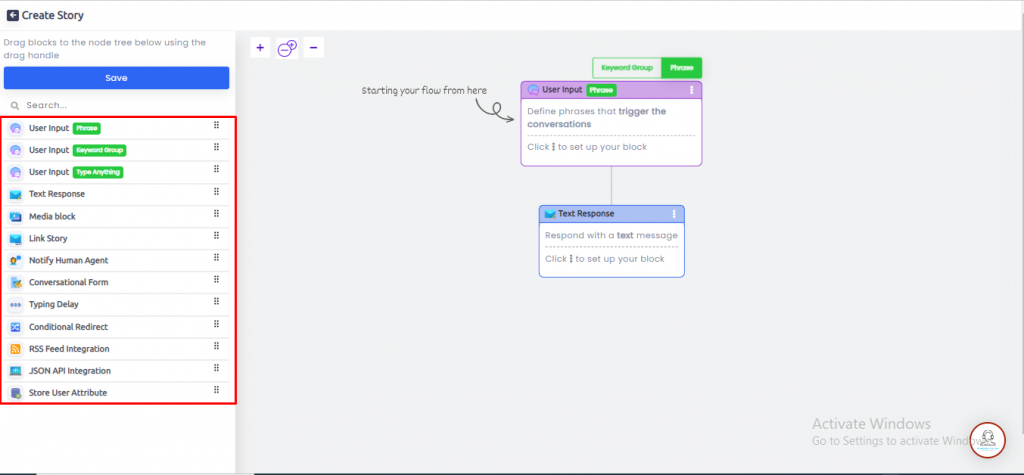
There are a few options below the chatbot dialogue box.

– Bot Says: Adds a new chatbot dialogue box

– Send Media Block: Lets you select an existing media block

– Add Story: Lets you connect an existing story

– Plugins: Lets you add plugins in the story

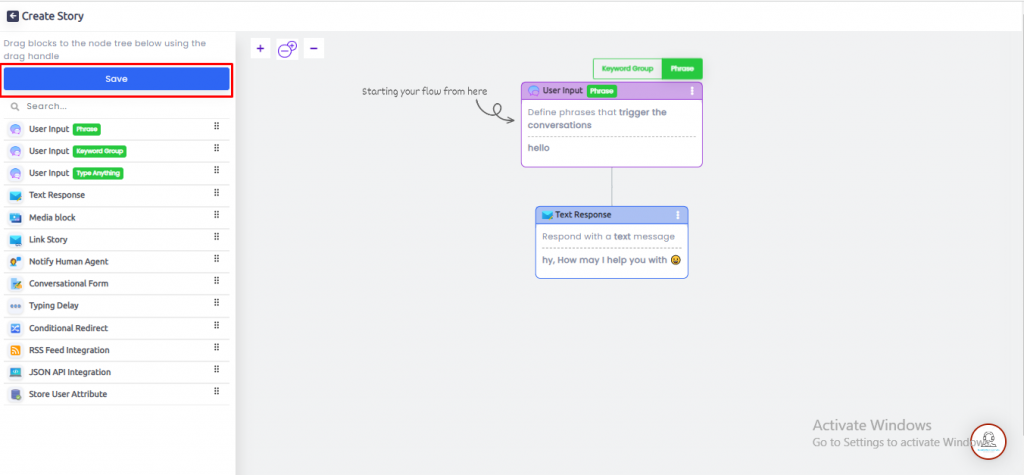
Let’s take an example in order to get familiarize with story creation:

In the user dialogue box select phrase match and write

“Hello” and your response will be “Hey! How may I help you?”

After all of the responses have been designed, your chatbot will be completed.

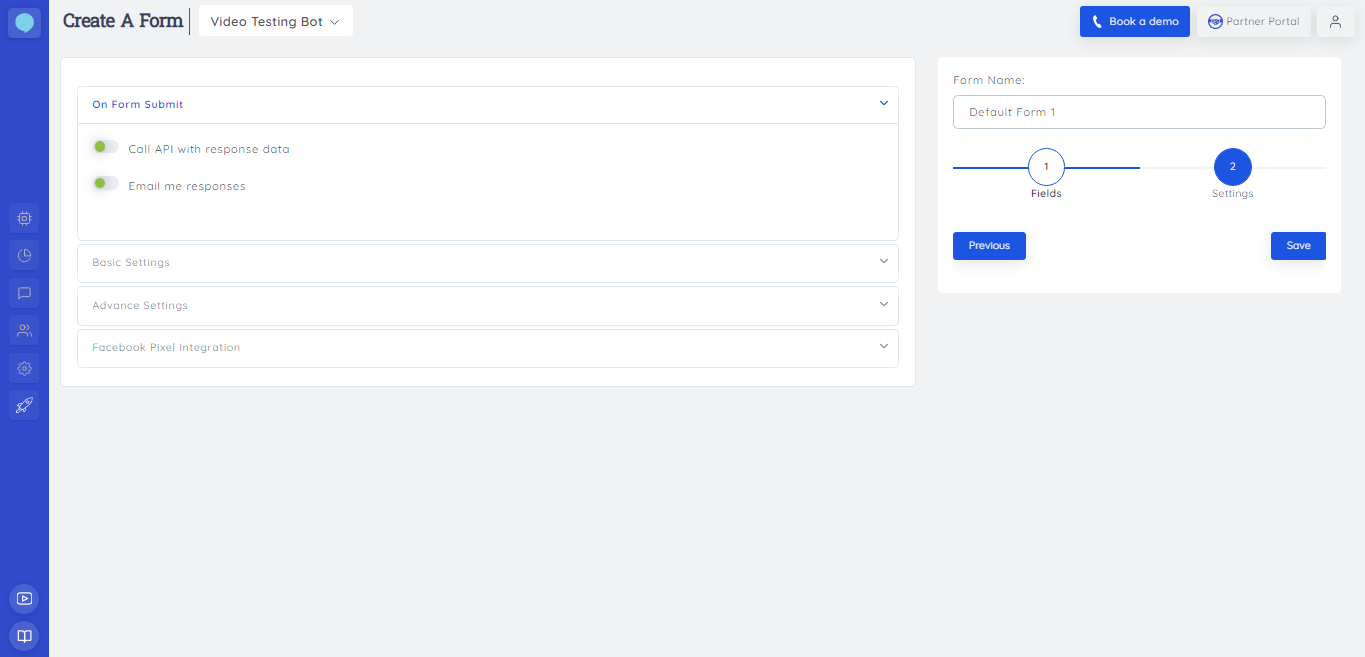
You can now scroll to the top and click on the “Save” button to save your story.

save the story


You can test this story like this

Creating A Chatbot For Facebook With Botsify

Learn how to create a Facebook Chatbot and seamlessly connect with your users!

A chatbot is a program that allows you to interact with your users in an almost seamless manner. Think of it as a one-time investment of your time and efforts to create an automated answering machine that; well, actually answers queries.


Botsify allows you to create a chatbot for your Facebook page without any coding skills.  This article will guide you through the process of creating a simple chatbot using Botsify.

Botsify Page

Log on to botsify.com and click on the “sign-in” link.


You will be redirected to the sign-in page. However, you can either sign in using Facebook or sign in using your email. 

Sign in page

Moreover, enter your login details to access your Facebook account. Once you have entered the details there will be an option to connect with Facebook (in the sign-in option). Furthermore, click on sign-in with Facebook to sync your page. 


In addition, select the page you want Botsify to use. (Go to connect then click on messenger icon > publish bot)


Then double-check your privacy setting to share with Botsify. Moreover, then you will be redirected to Botsify’s dashboard to create a bot. However, in the end, click on to connect the bot to the page. 


Voila! You have successfully created the bot and connected it to Facebook.