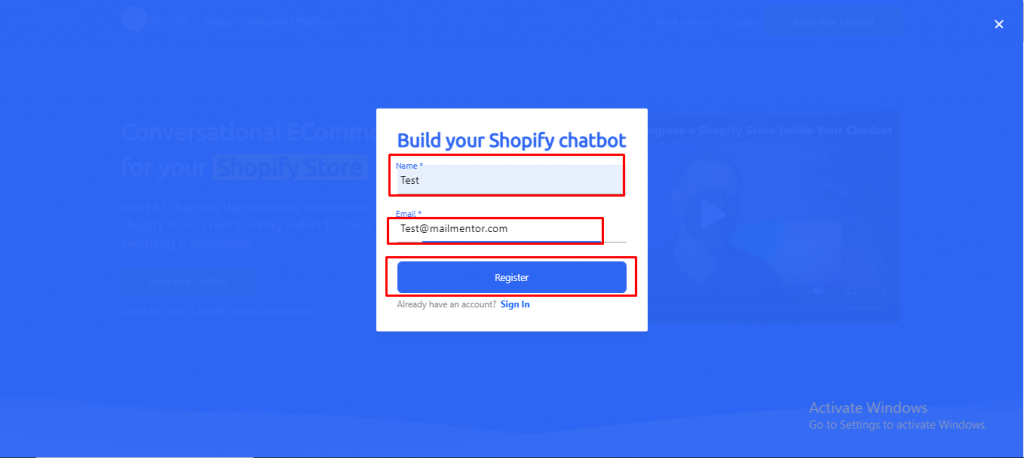
Integrating Chat GPT with your platform brings the power of advanced language processing to your fingertips. Seamlessly interact with users, provide intelligent responses, and enhance user experiences through the integration of this state-of-the-art conversational AI technology.
Step 1

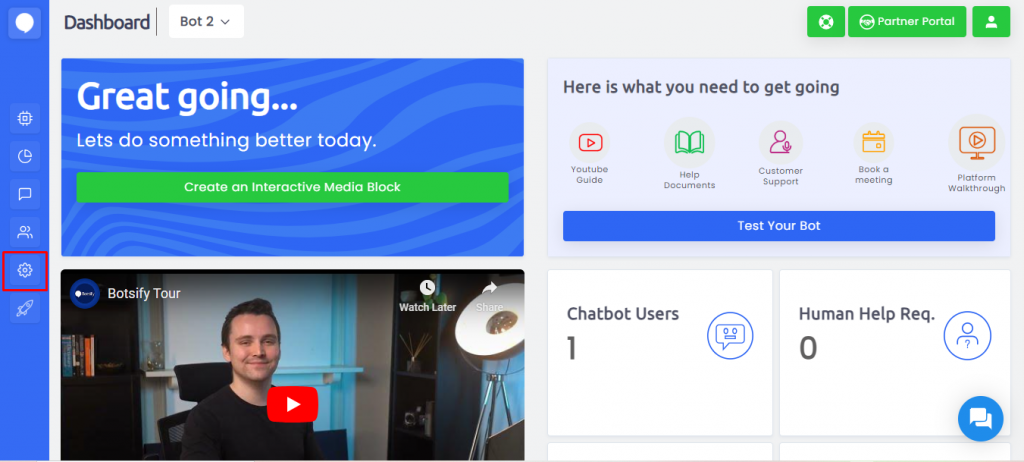
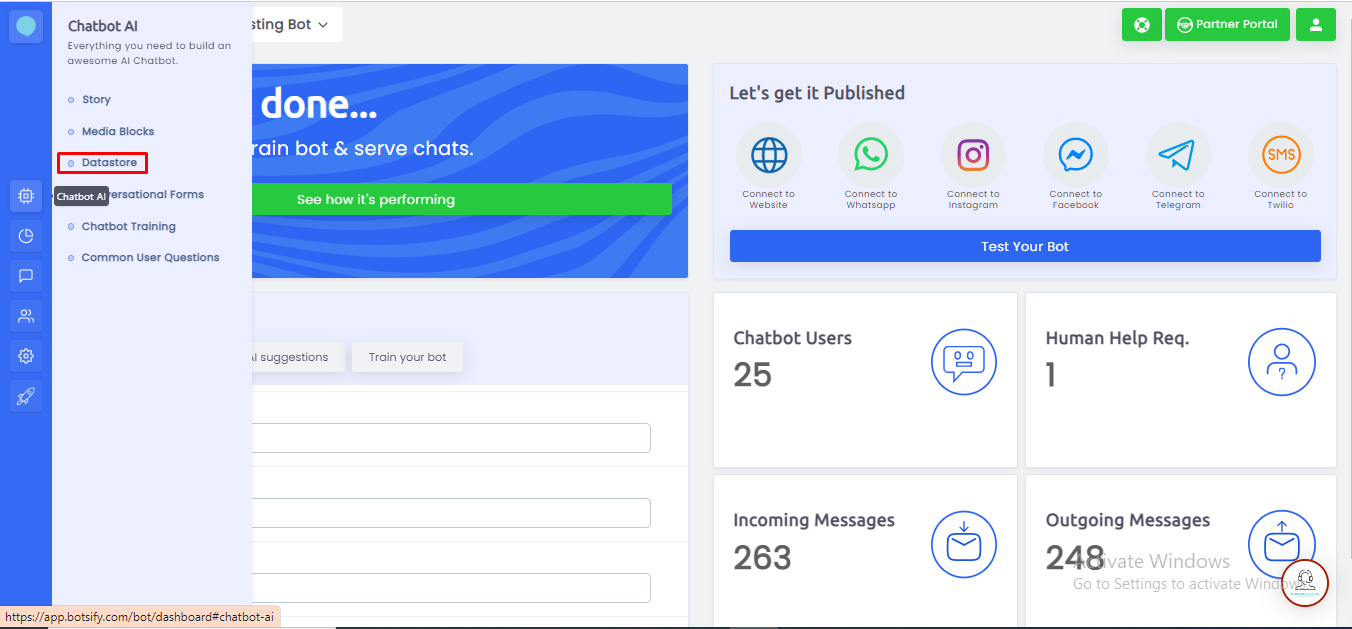
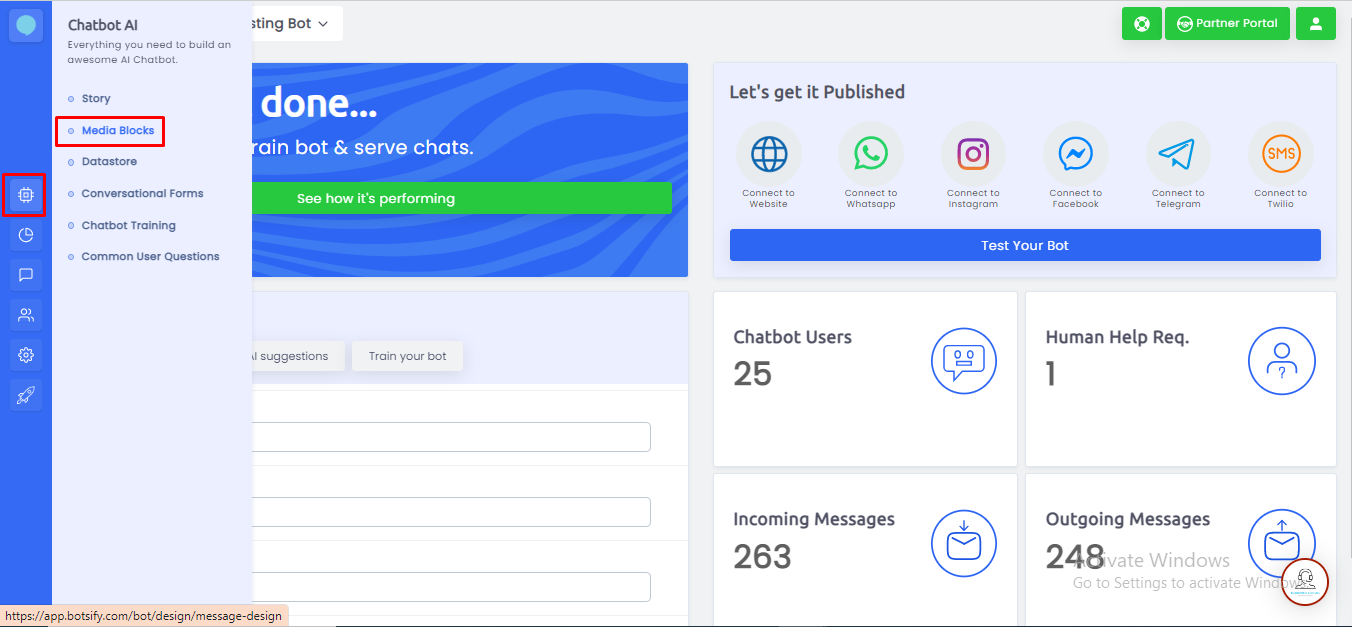
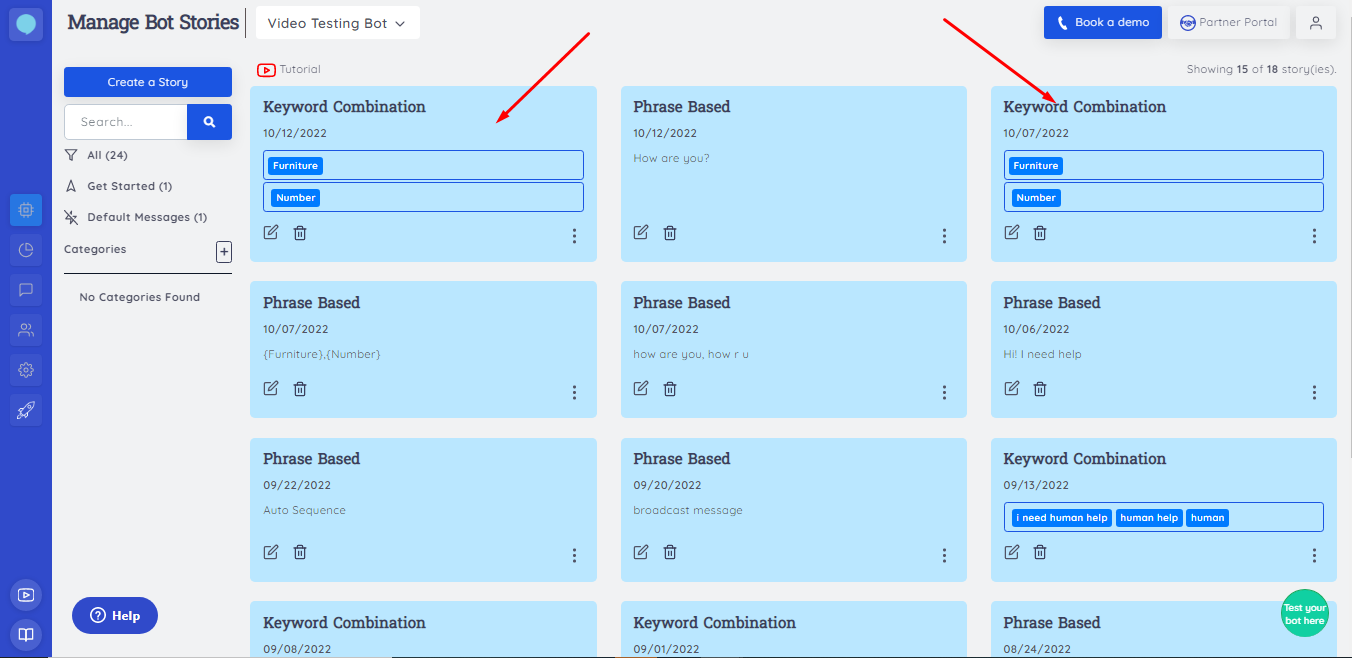
Click on the Settings icon.
By clicking on the settings icon, a menu will appear on your screen from the left side.
Step 2
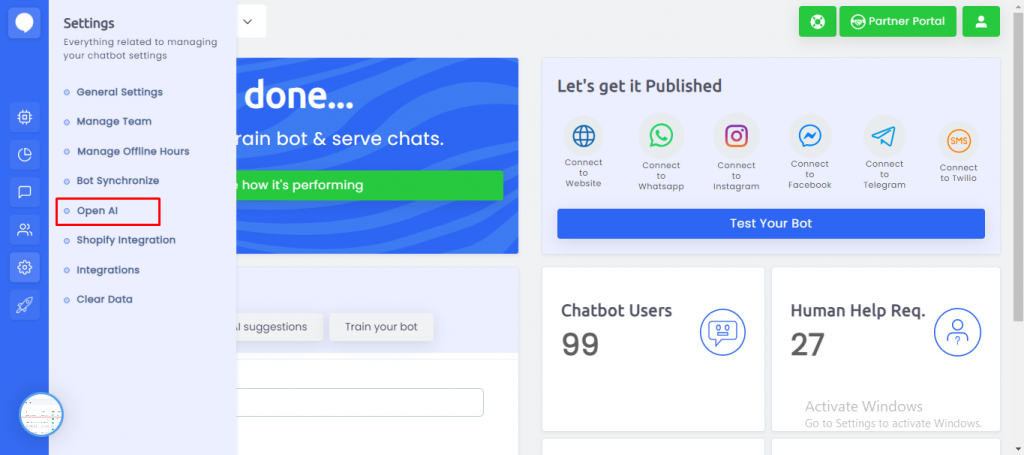
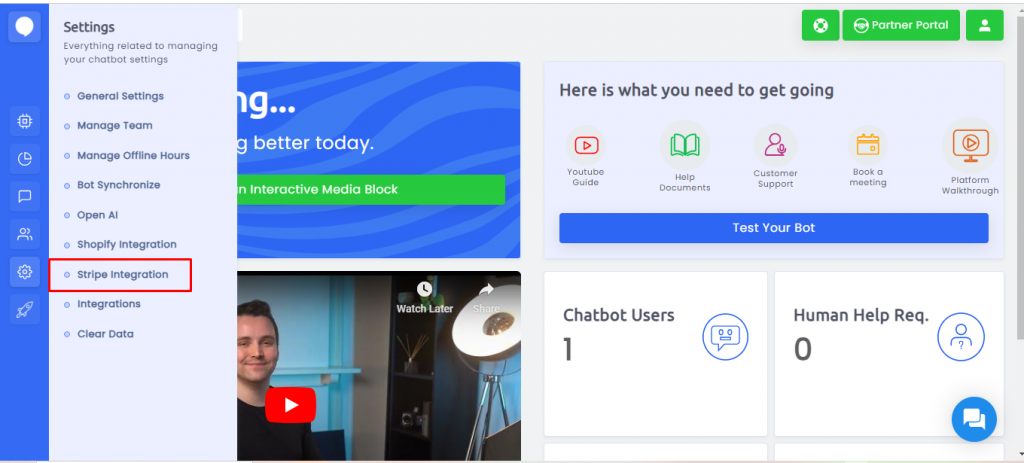
By clicking on Open AI ChatGPT, you will be redirected to a page where you can integrate it.
Step 3
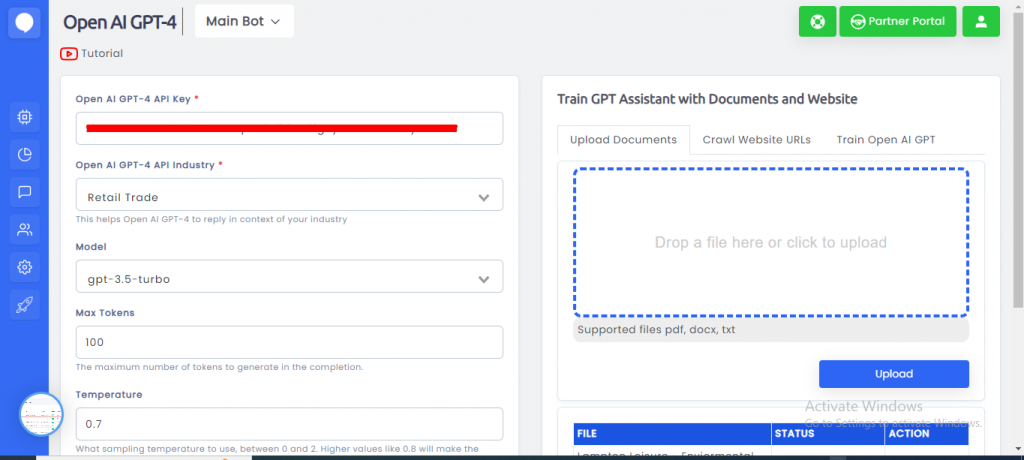
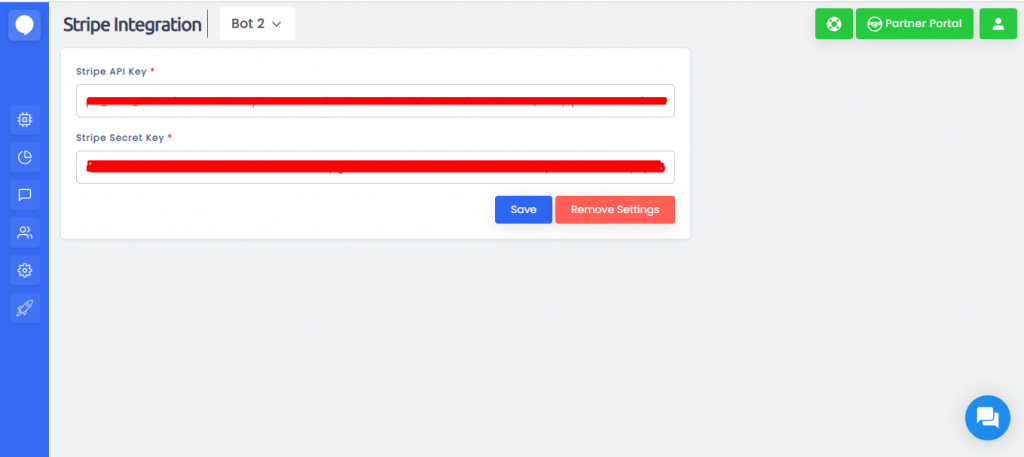
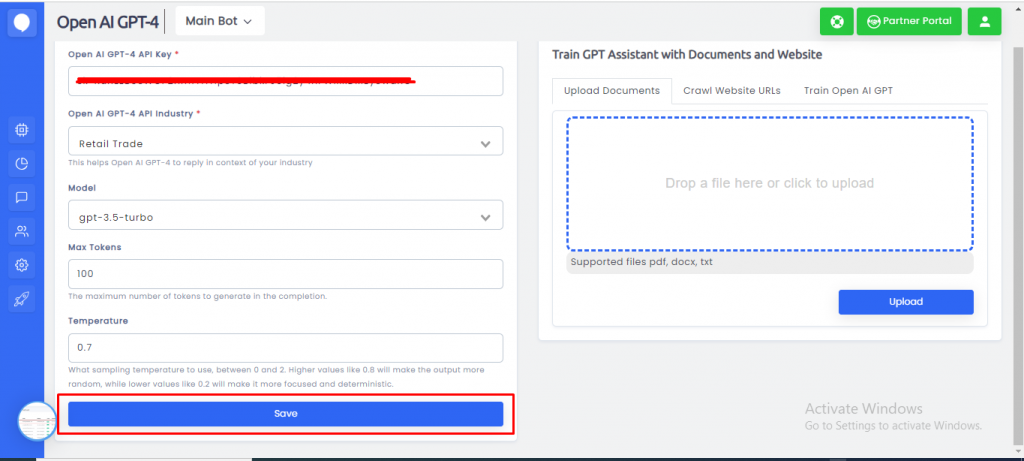
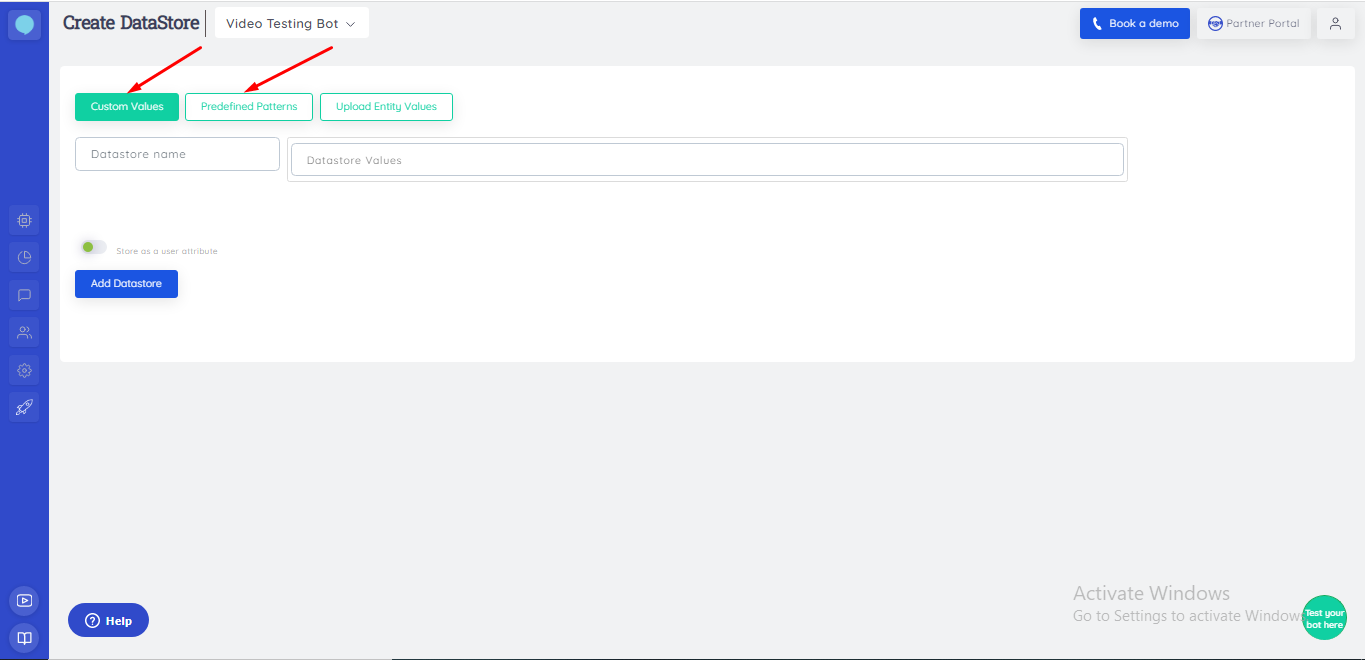
Set the Open AI Chat GPT API key.
Here, write your private Chat GPT API key to integrate and start using it.
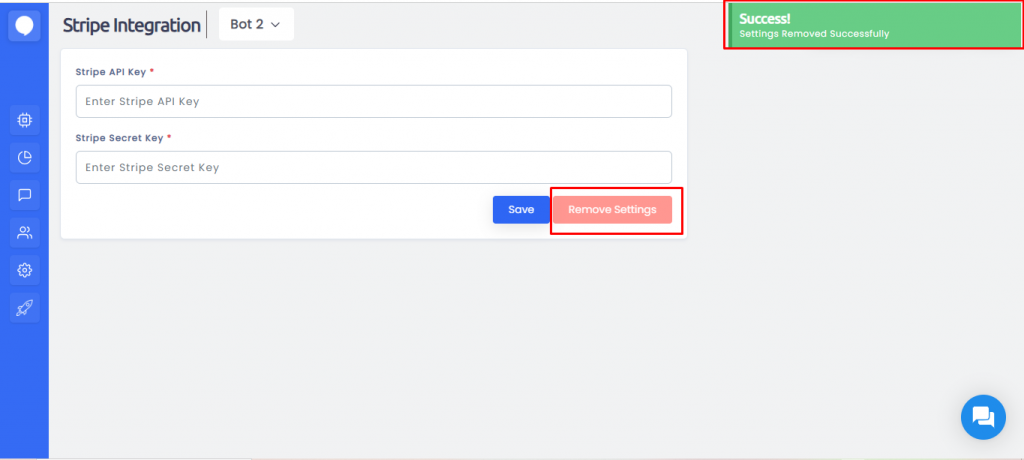
Step 04
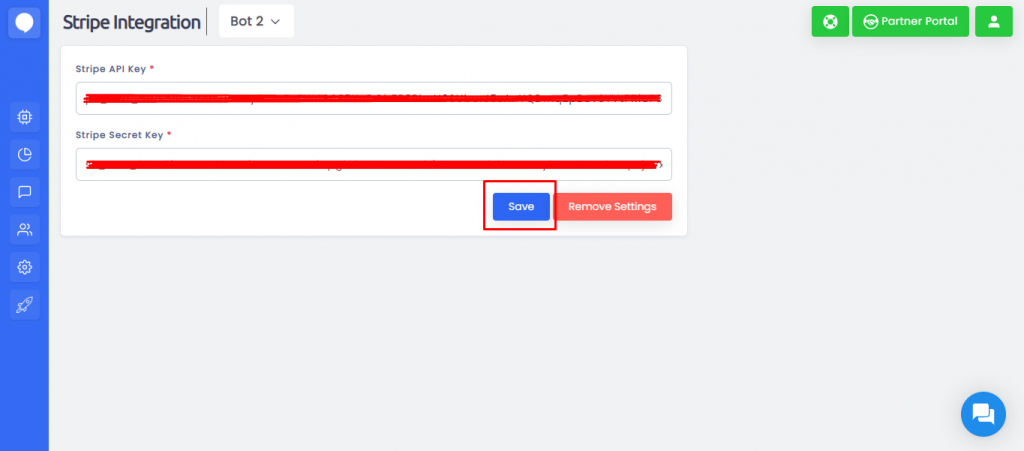
Click on the Save button.

Step 05
Set the Chat GPT Responses there are two types of Responses.
- Own Data (Own data refers to the information and content that individuals or organizations possess and have control over. It typically includes any data that is generated, collected, or owned by an individual or entity, as opposed to data that is publicly available or sourced from external parties.)
- Specific industry (Specified Industries means the consumer products, insurance, and financial products, agriculture, power generation, and water and natural resources industries.
Step 06
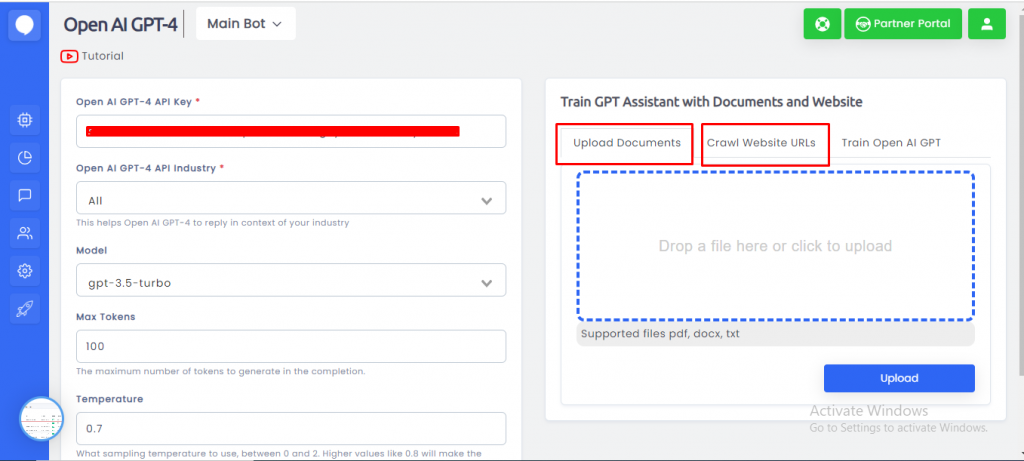
There are two options on which you can train your chatbot.
- Train by document
- Train by URL
Step 07
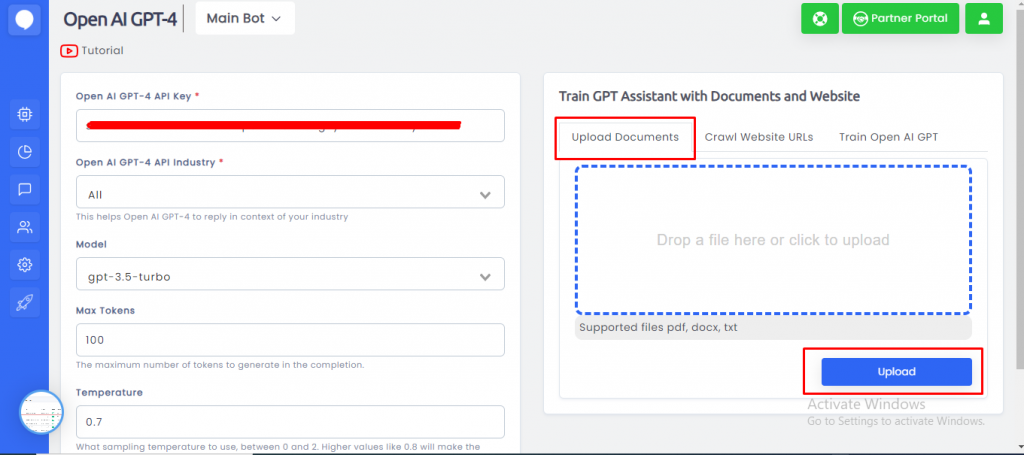
Click on Upload Document, To upload a document from which you can train your ChatGPT chatbot, You can upload PDF, docx, and TXT files. Also, you Can Select multiple Documents at a time and click on the Upload Button.
Step 08
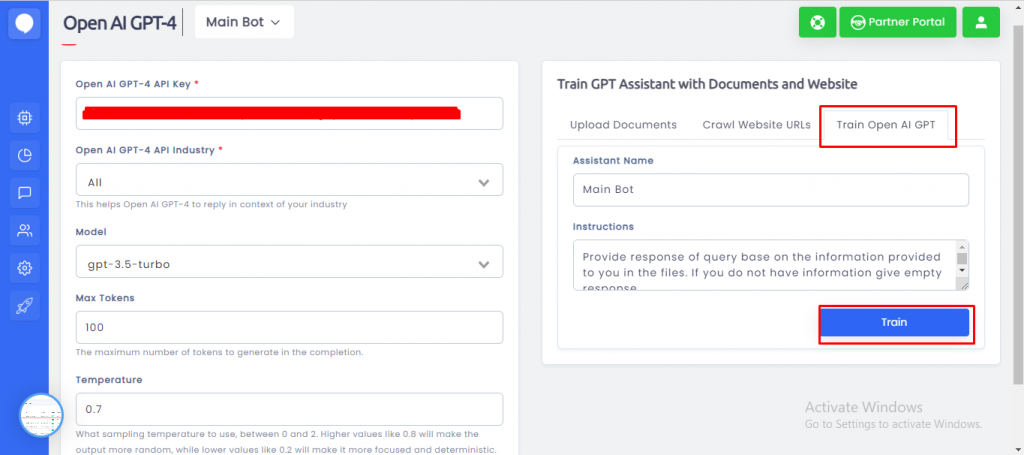
Go to the Train OPEN AI GPT Tab, Type the Assistant Name, Type the Instructions then click on Train Button.
Step 09
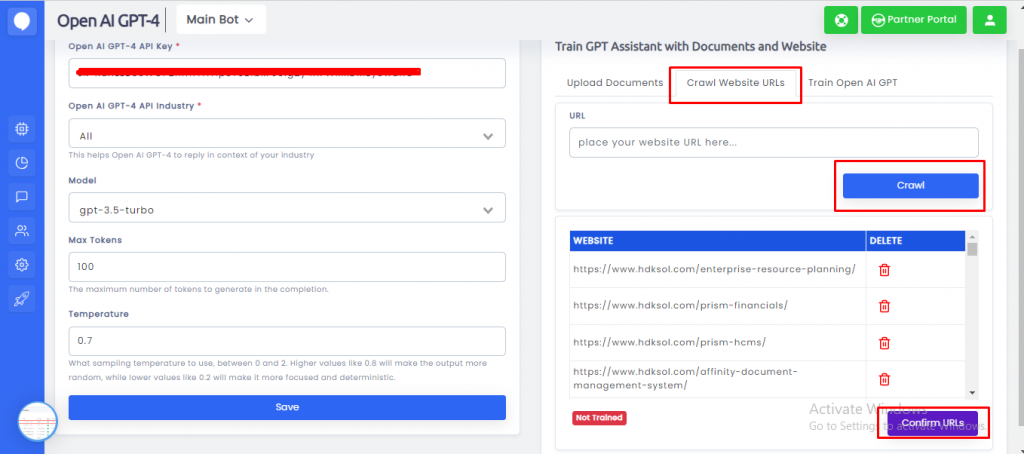
If you select the option to Crawl websites by URL, if you want to read data through any website then you can enter a URL and click on the Crawl button then Click on the Confirm URLs Button.
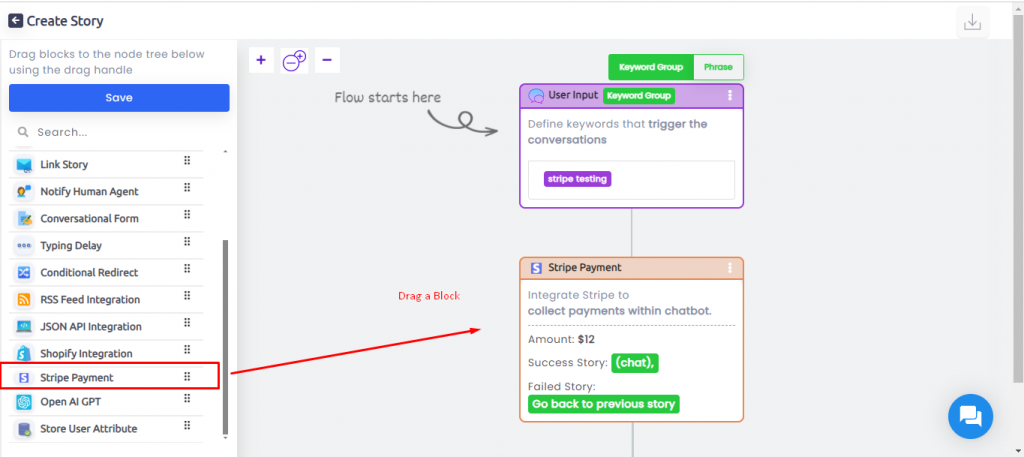
Step 10

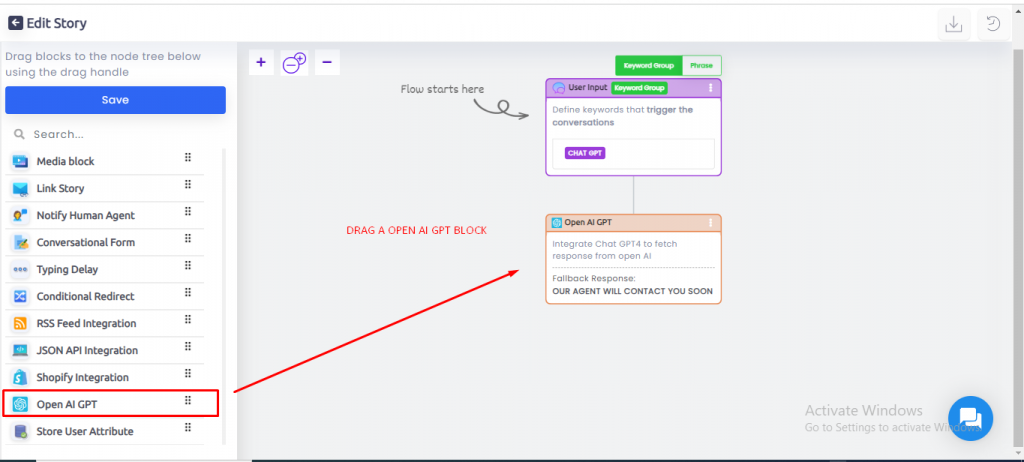
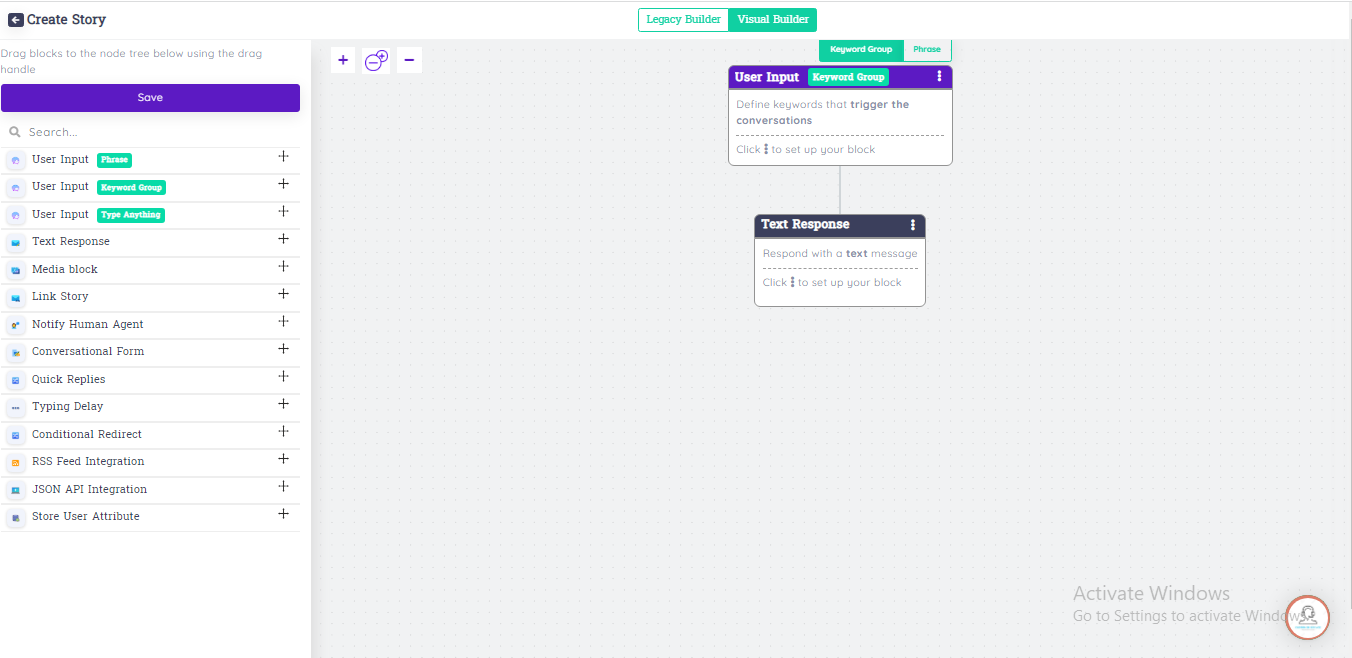
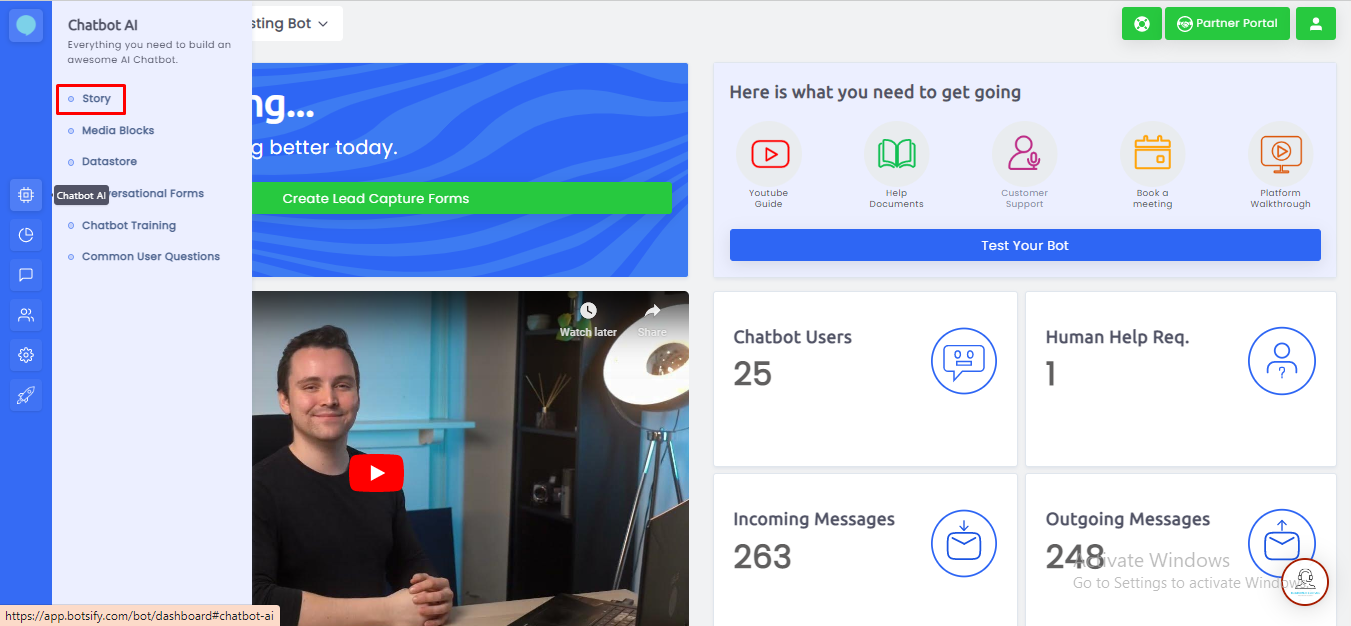
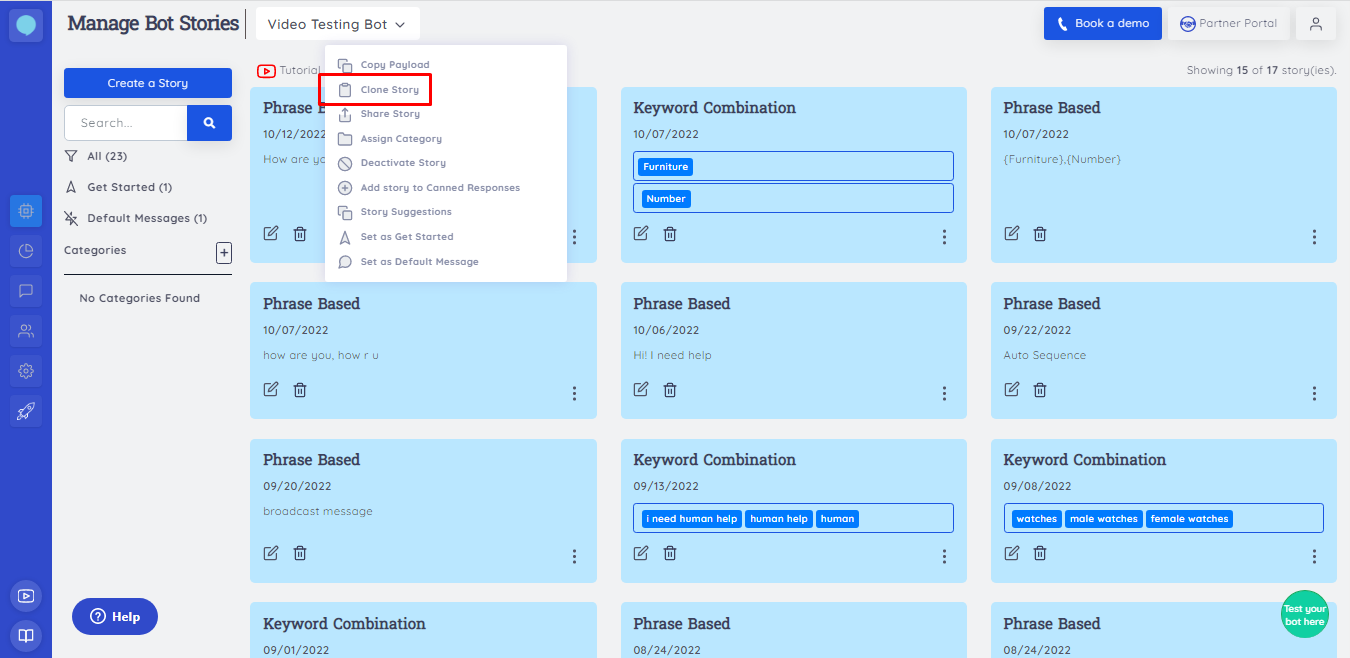
Create a Story and integrate OPEN AI Block.
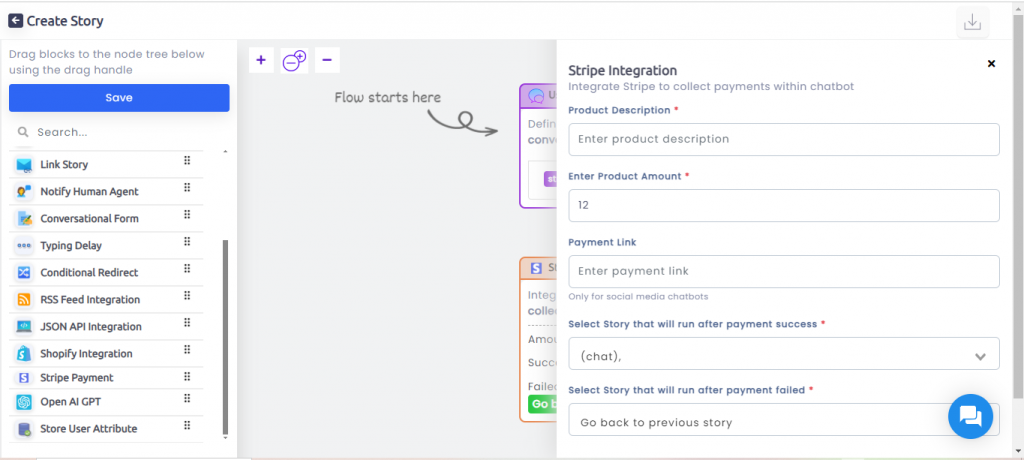
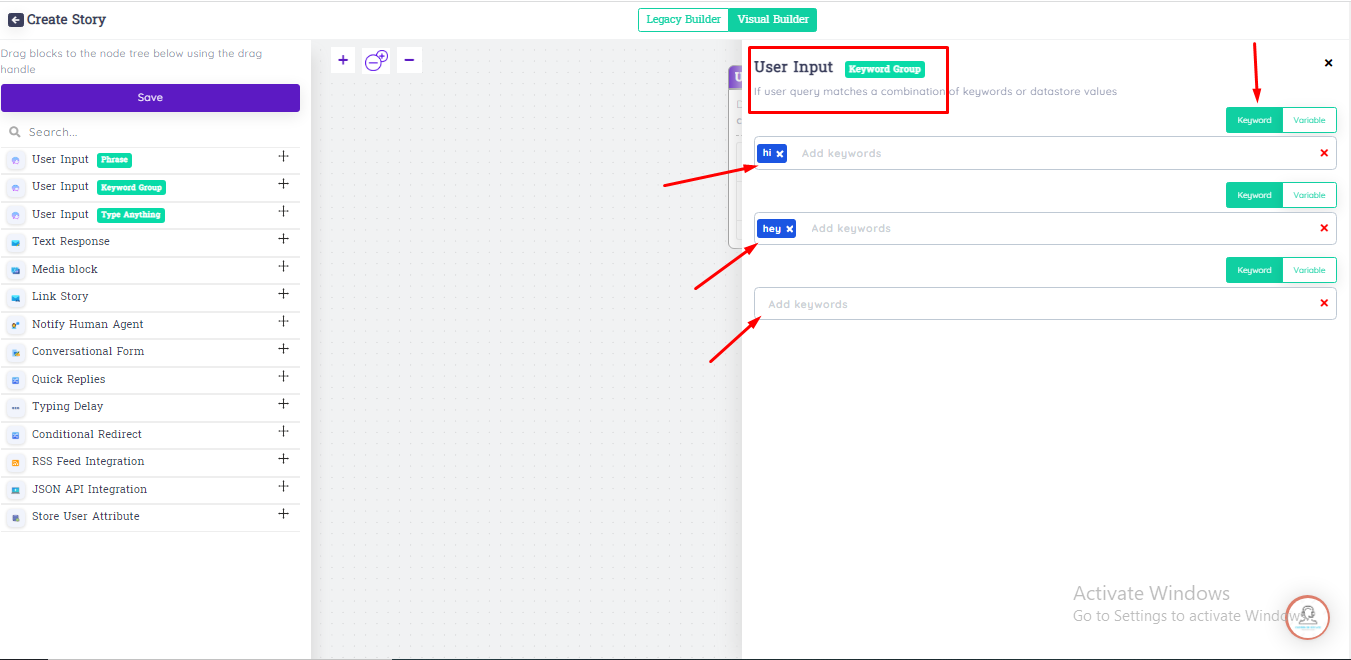
Step 11
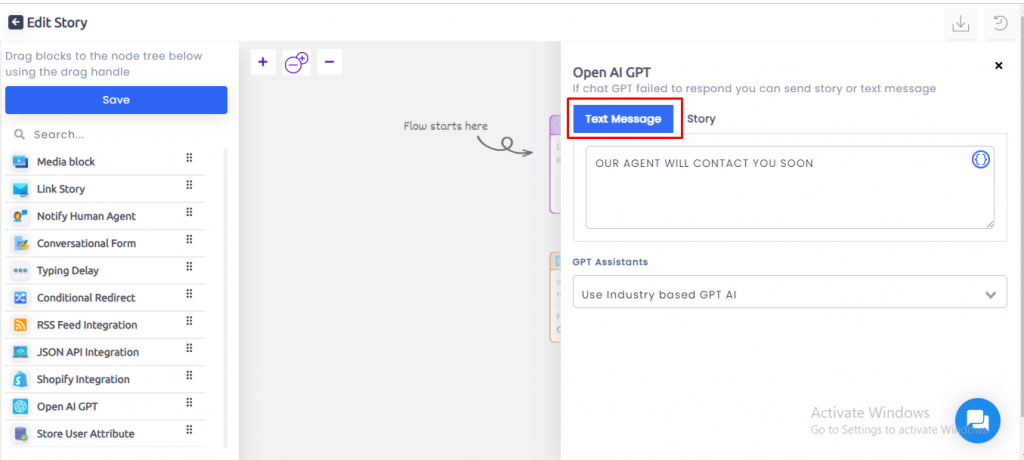
Click on Open AI GPT Block and Type here a Message in the Text box also you can attach a story in case ChatGPT is not responding so this message and story will show you.
Step 12
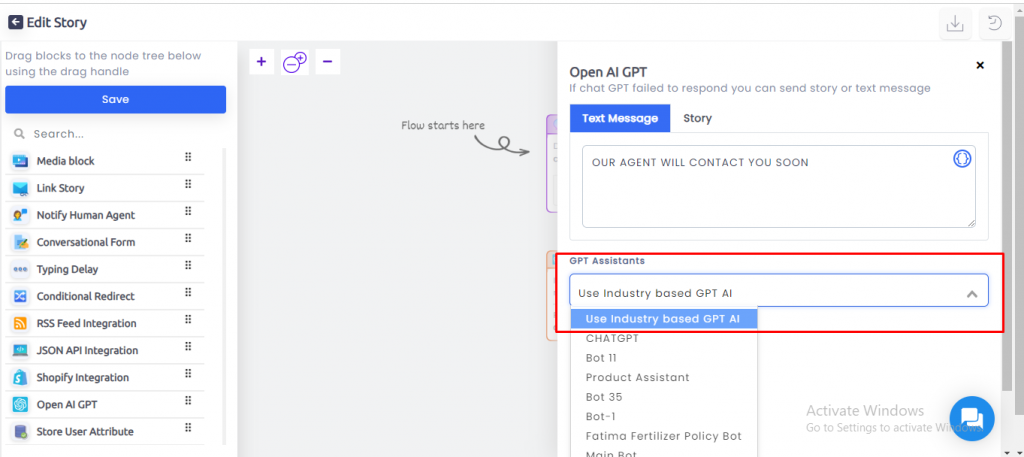
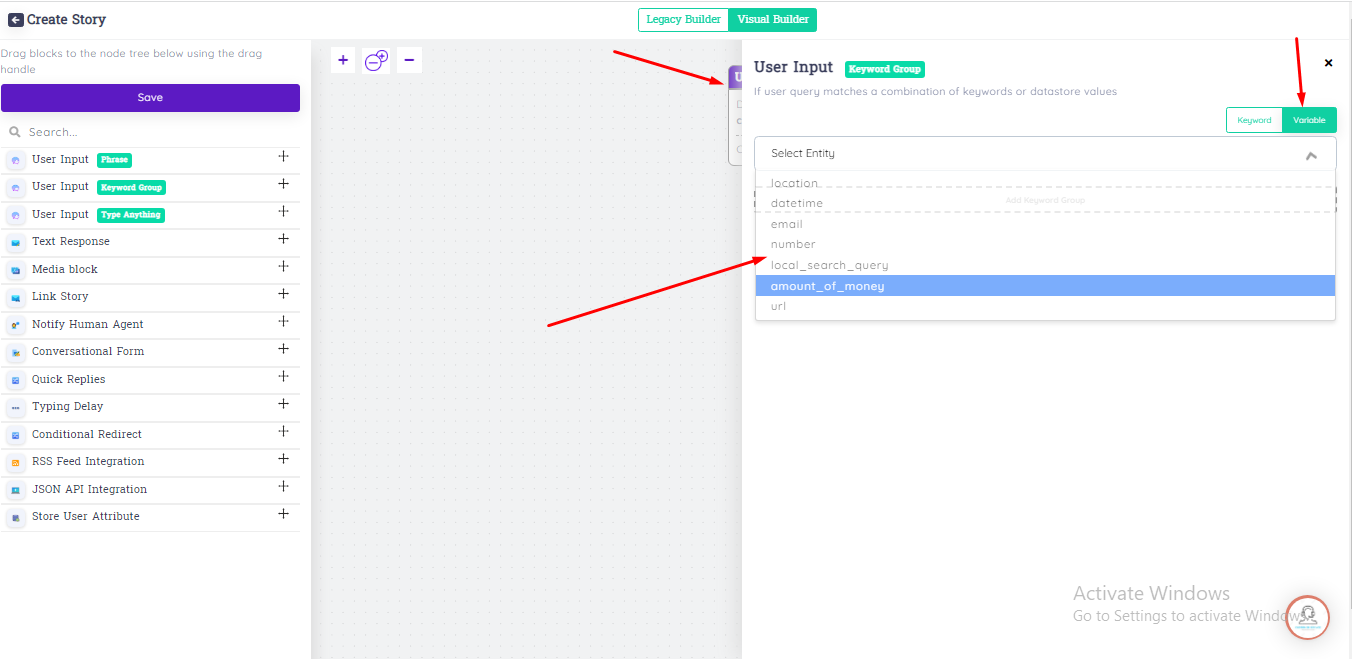
Select the Industry-Based GPT AI Assistant on the Dropdown.
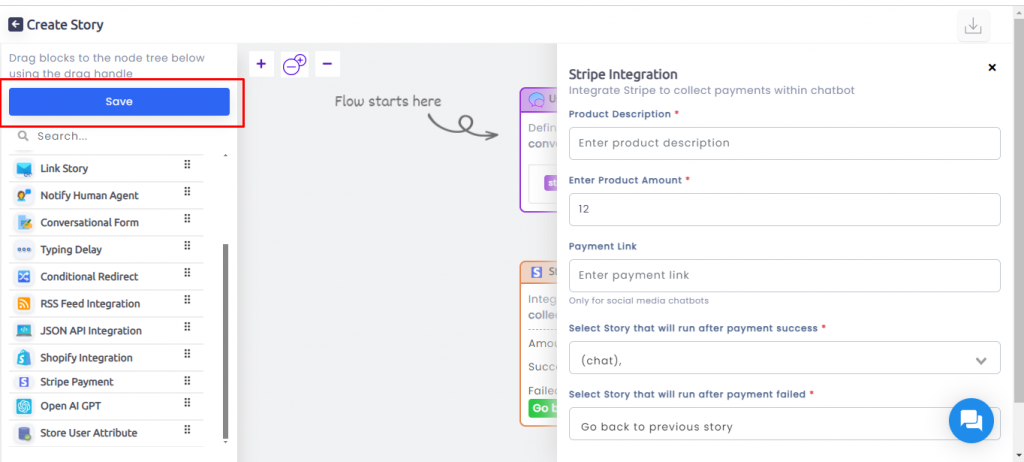
Step 13

Click on Save Button
Step 14

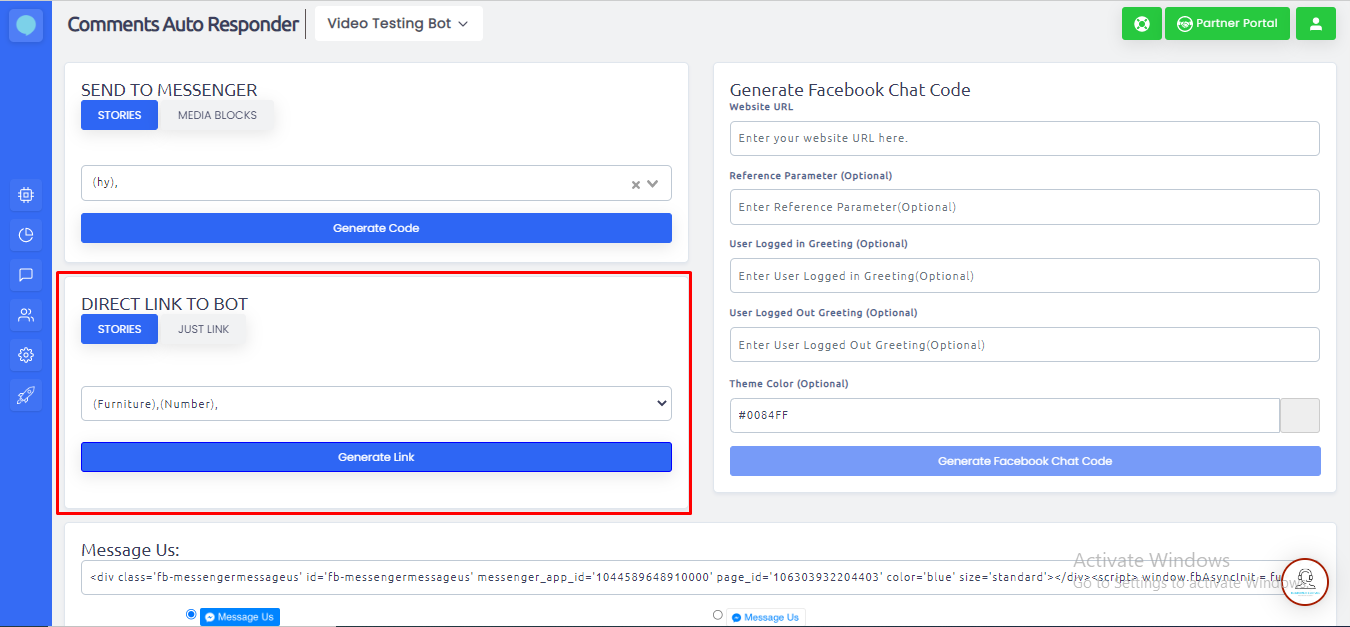
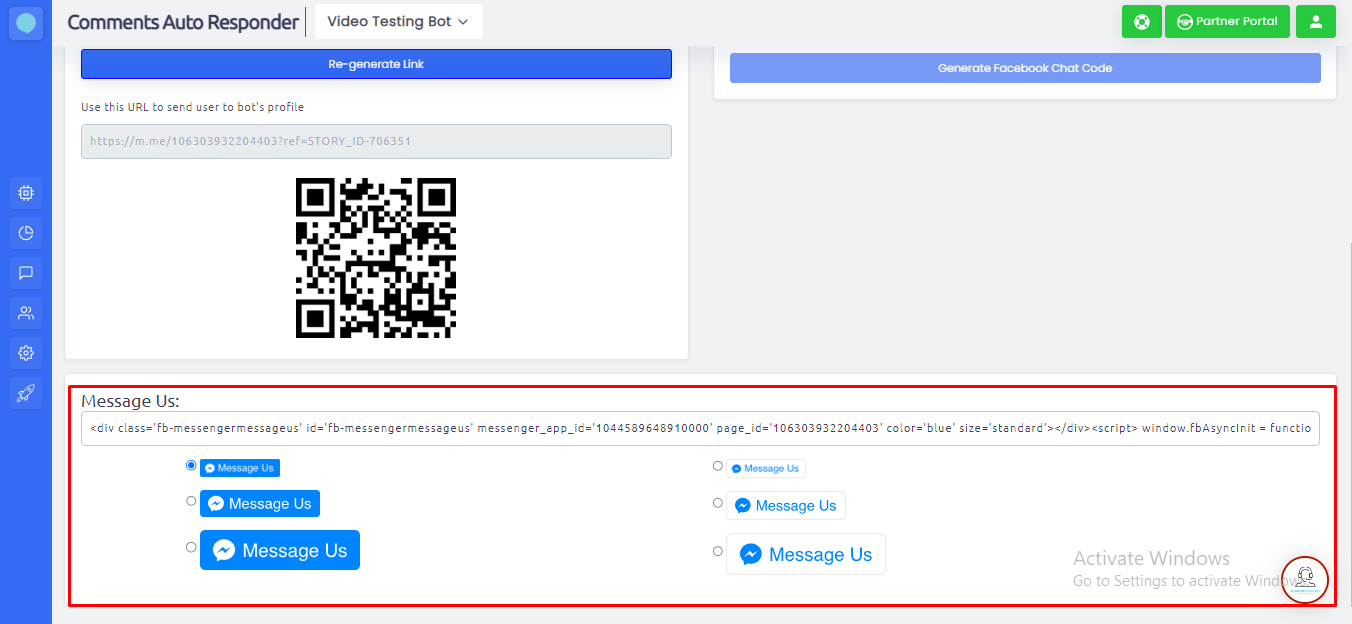
Set a story as a Default Story.
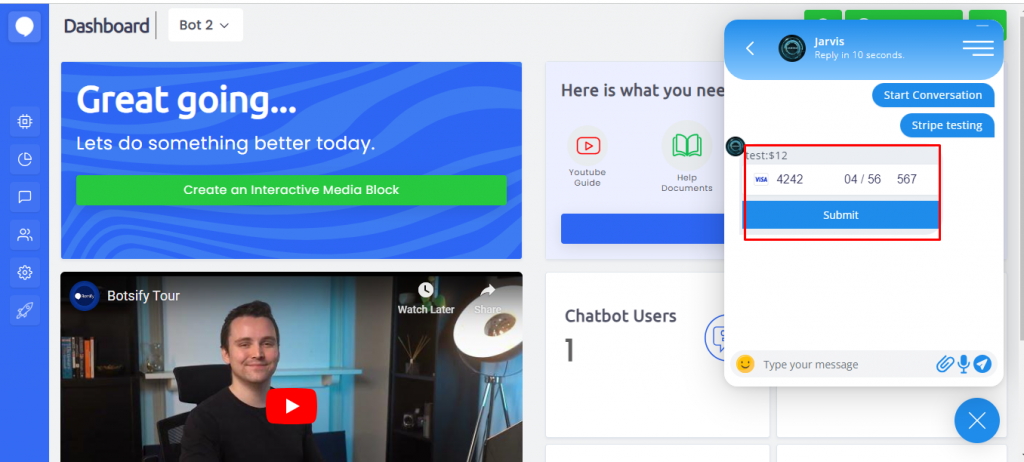
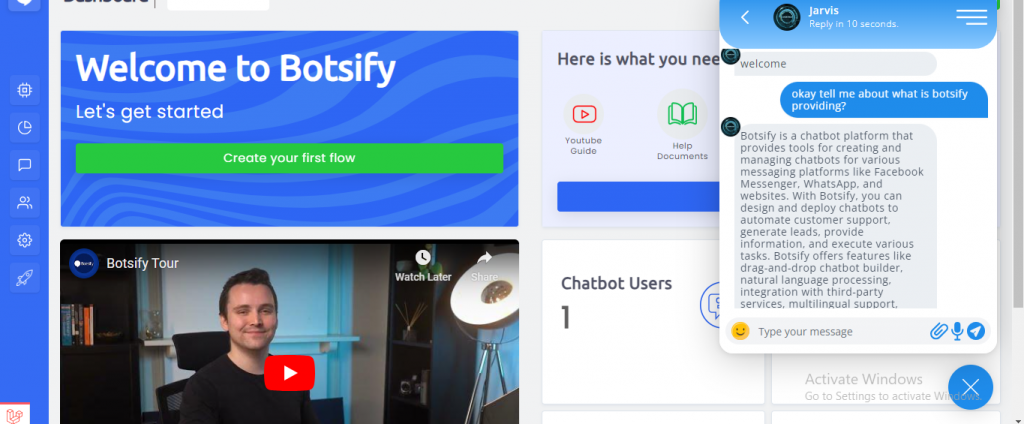
Step 15
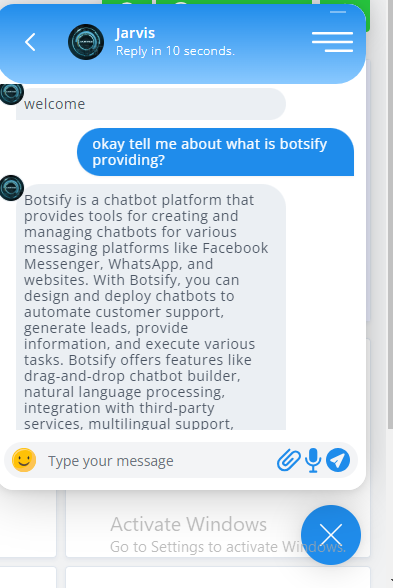
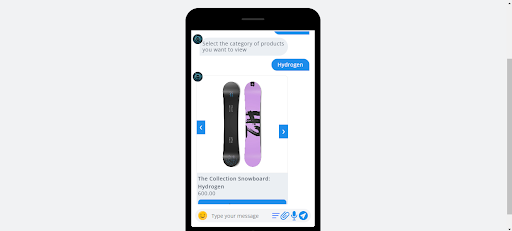
Type your Query in the Chatbot, and then the Chatbot will reply to you accordingly.